How to Make Test Tiles for Testing New Glazes
This project came from an early draft of my new book ‘Pottery for Beginners’
I packed the book so full of information it was way too long 🙈it had to be cut down - so I decided to share this chapter with you on my blog instead - hurrah! Pre- order the book here.
Always test your glazes before applying them to your work.
It’s really frustrating to glaze a big batch of work for it to not turn out the way you’d expect. Combining two or more glazes together is a great way of creating a unique glaze but as we’re working with chemistry you never quite know how mixed glazes will react. Some glazes, when combined can get extremely runny. I make test tiles to use with all new glazes, I test out new colours and new combinations before they go anywhere near my pots. Remember glazes can look very different depending on the clay you’re using so its worth testing a new glaze on each type of clay you use. Test tiles save using precious pots you’ve just spent ages creating and space in the kiln. Plus they’re really easy to make. In this blog post I’ll show you how to make test tiles via hand building and wheel thrown methods. I normally throw mine on the wheel, making a cylinder without a bottom measuring 5 inches wide x 2.5 inches tall (14 cm wide x 6 cm tall). I can get about 14 test tiles from this size.
Pro Tip: I always use an underglaze pencil to write the name of each glaze on the bottom of each tile, so I remember which tile is which glaze. I also like to keep a detailed notebook of all of my glazes and the firing schedules next to my kiln.
How to Make Test Tiles (by Hand-building)
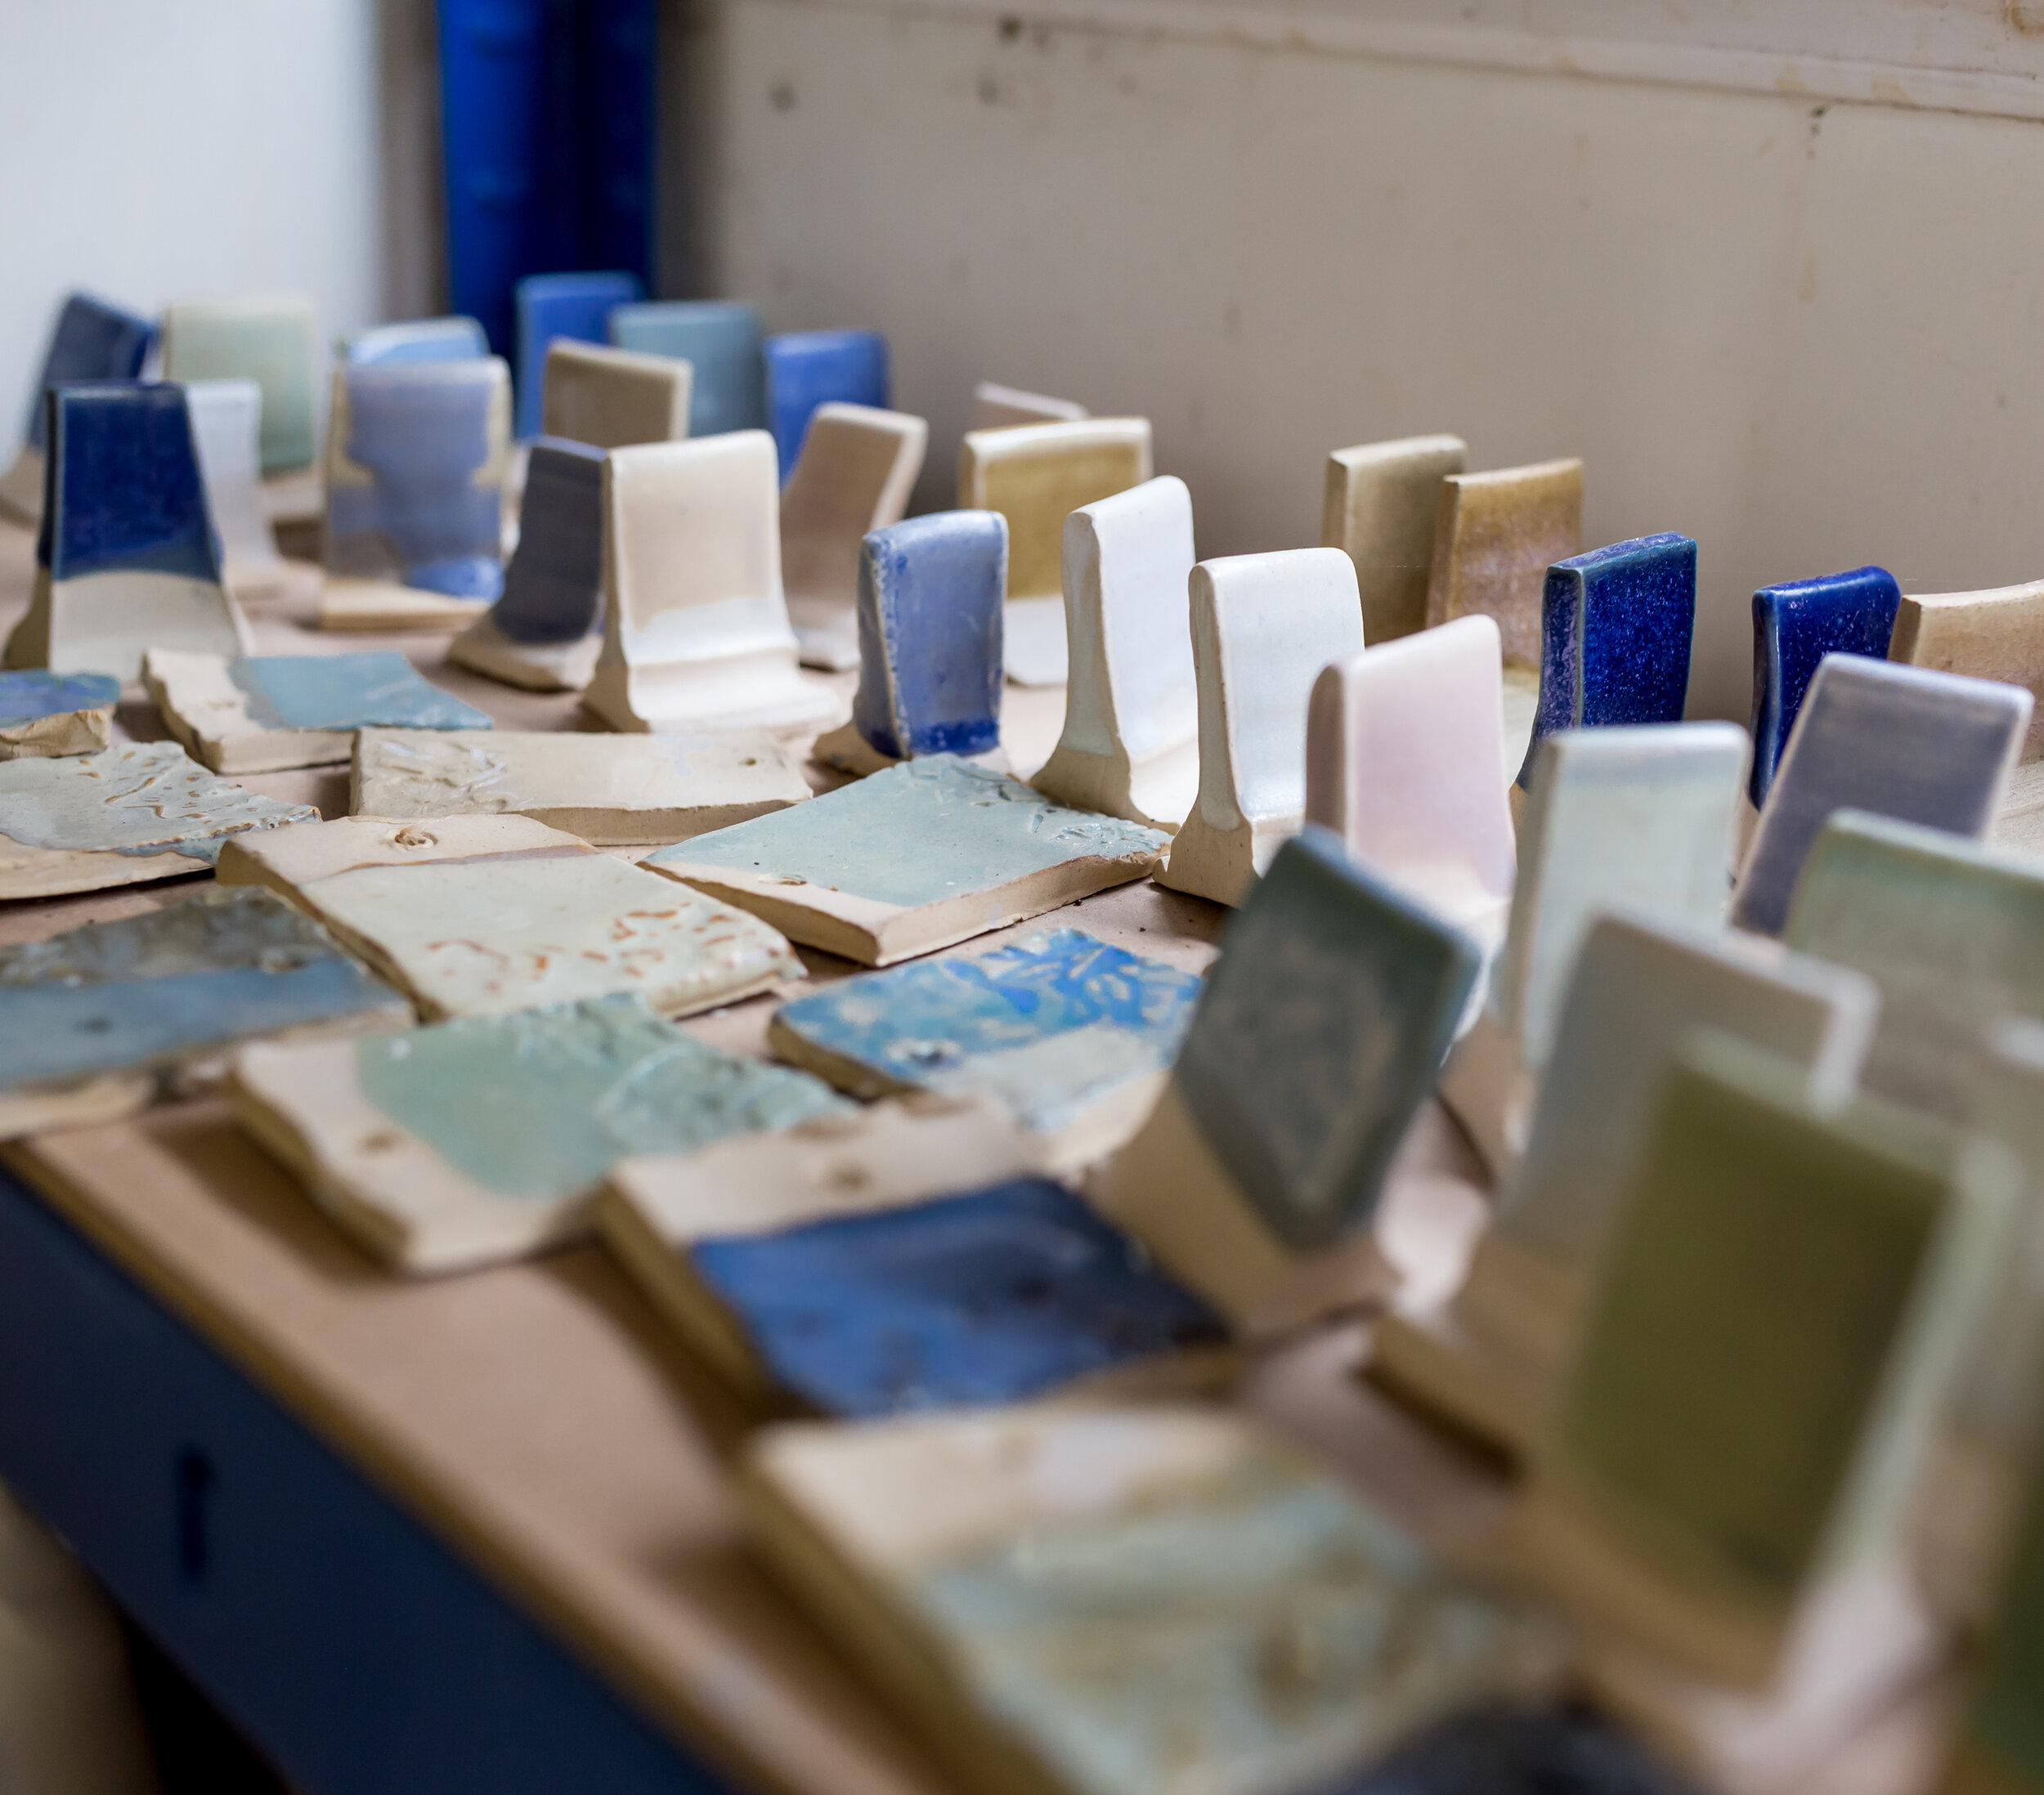
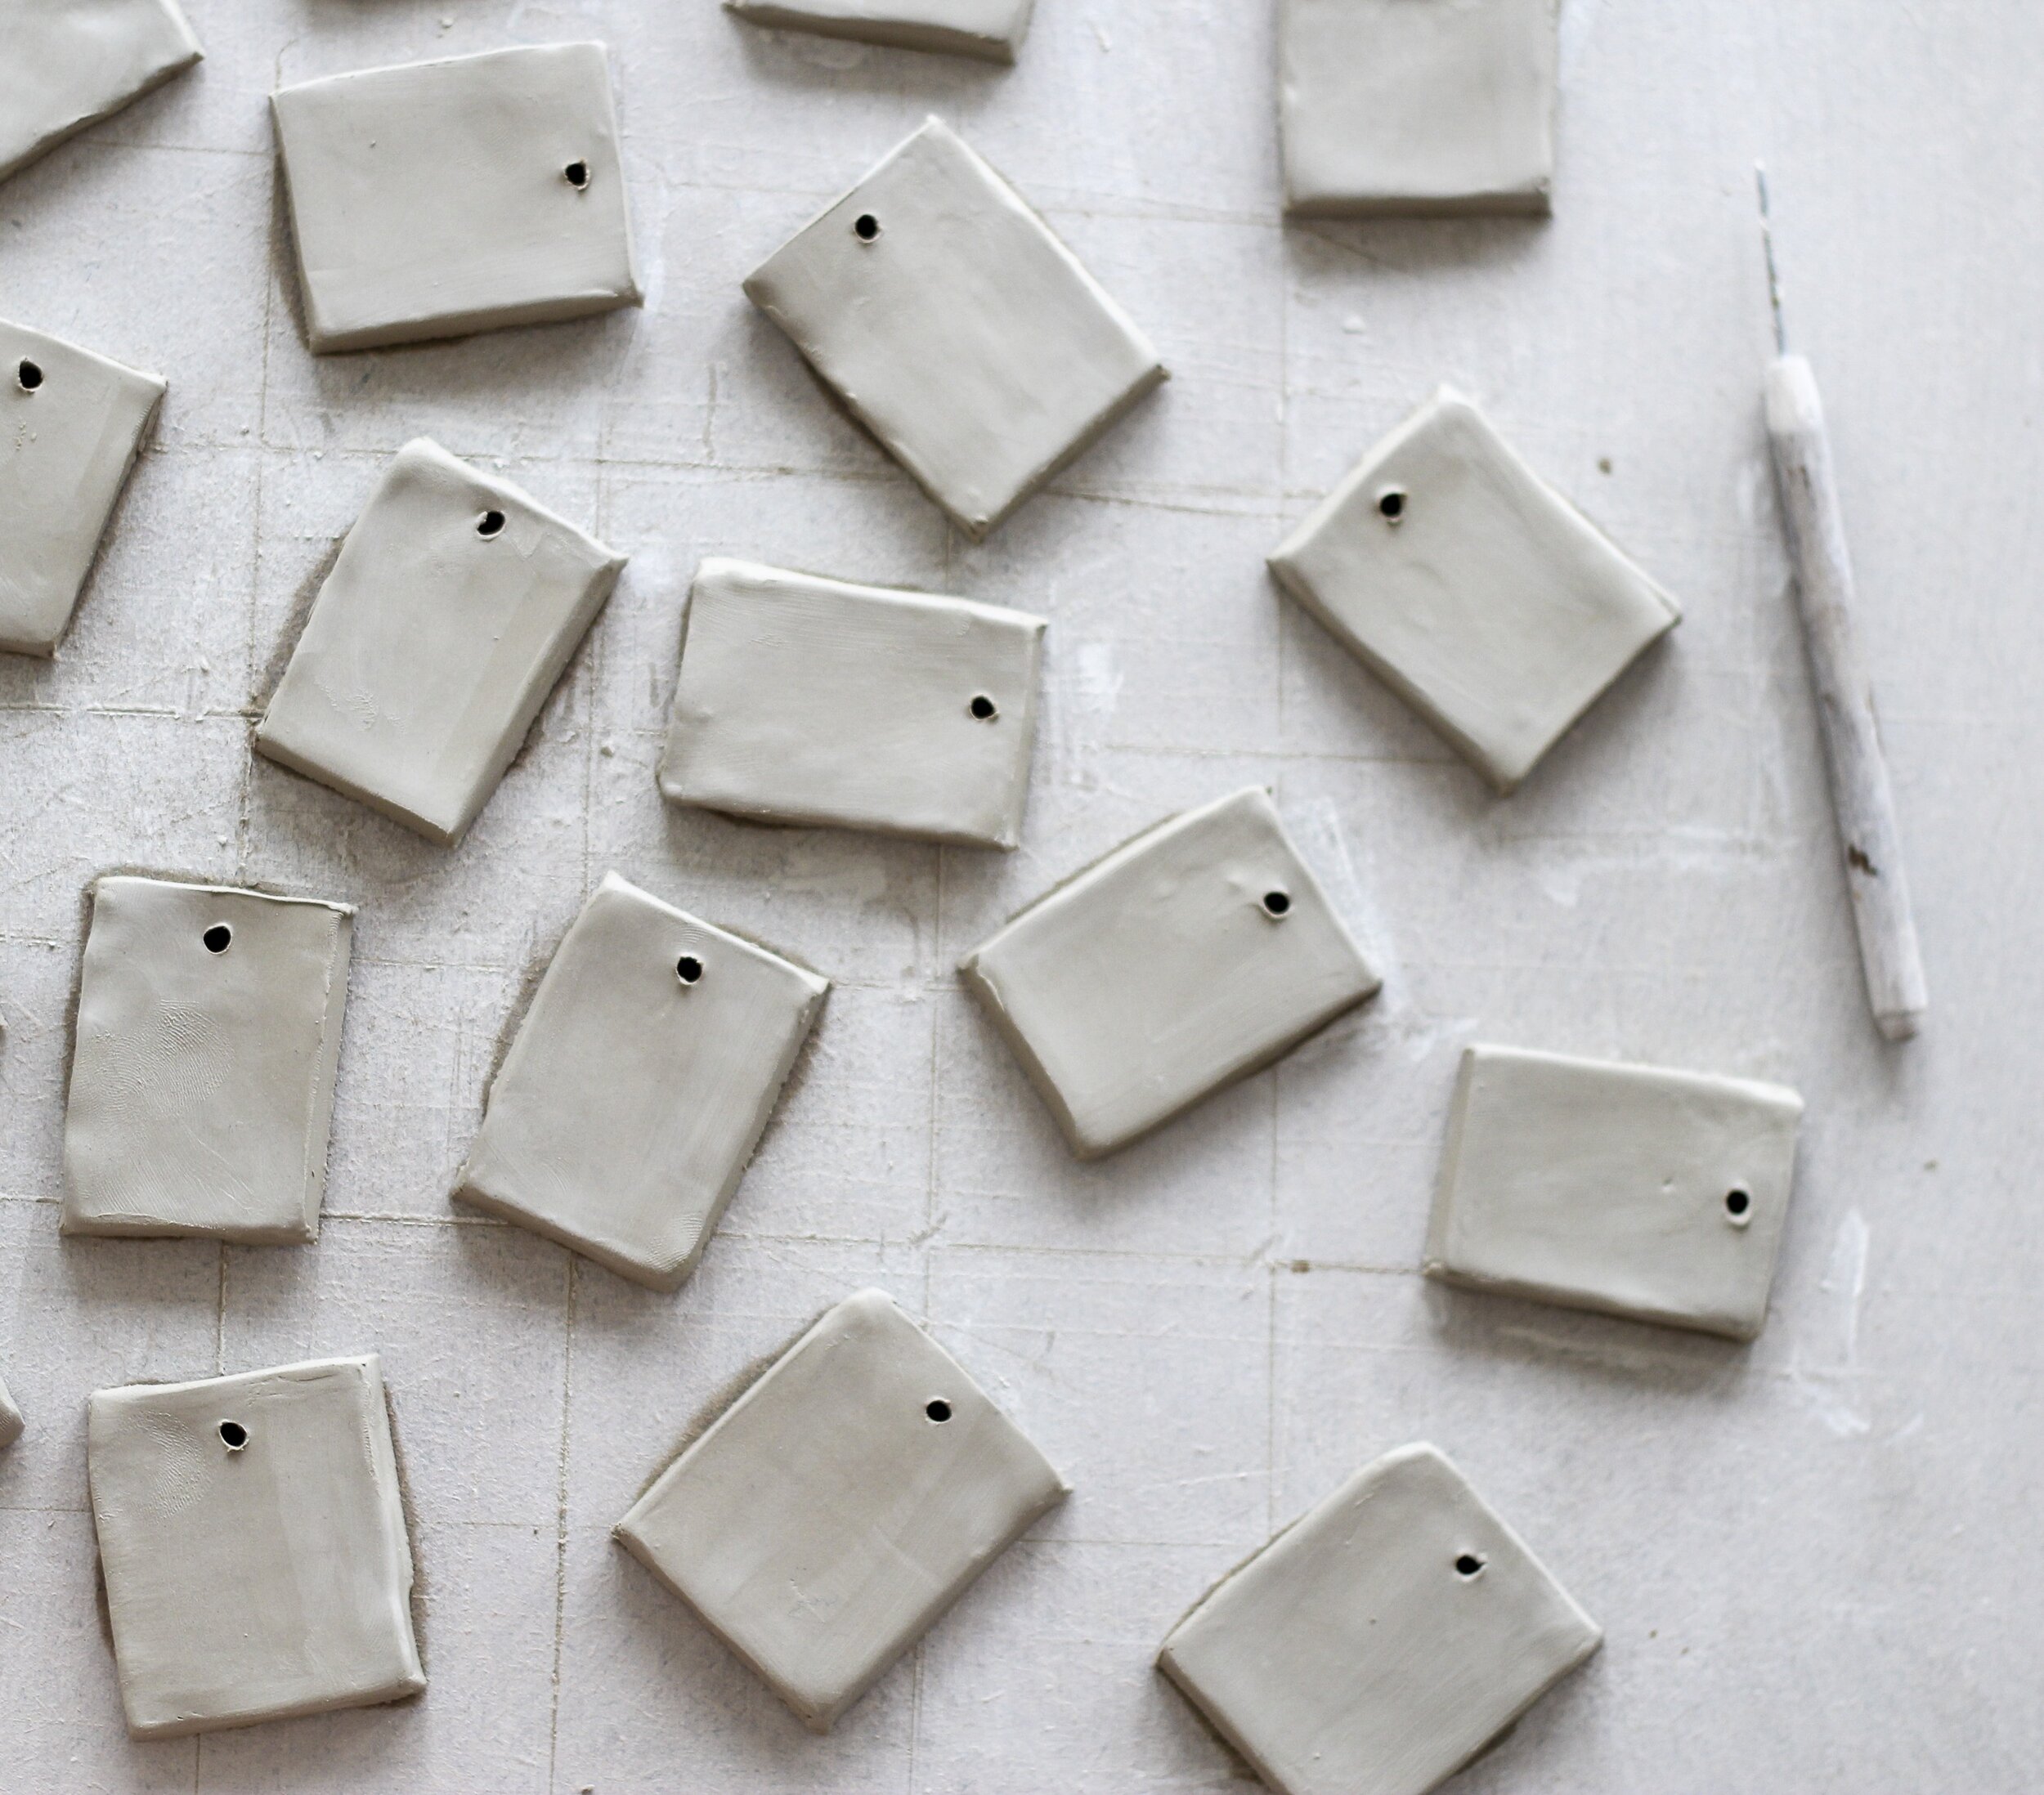
These hand built test tiles lie flat in the kiln and are great for testing out how glazes break and pool over texture and how glazes will look on flatware such as tiles, plates and platters.
1) Weigh out 1 pound (500 g) of clay. Wedge the clay lightly to get rid of any air bubbles.
2) Working on a wooden board, bash the clay with a rolling pin to flatten it to about 1 inch thick, this will make it easier to roll.
3) Place the clay between two thickness gauges, these are 1/4 inch thick. Roll out the clay using a wooden rolling pin until it’s flat and even.
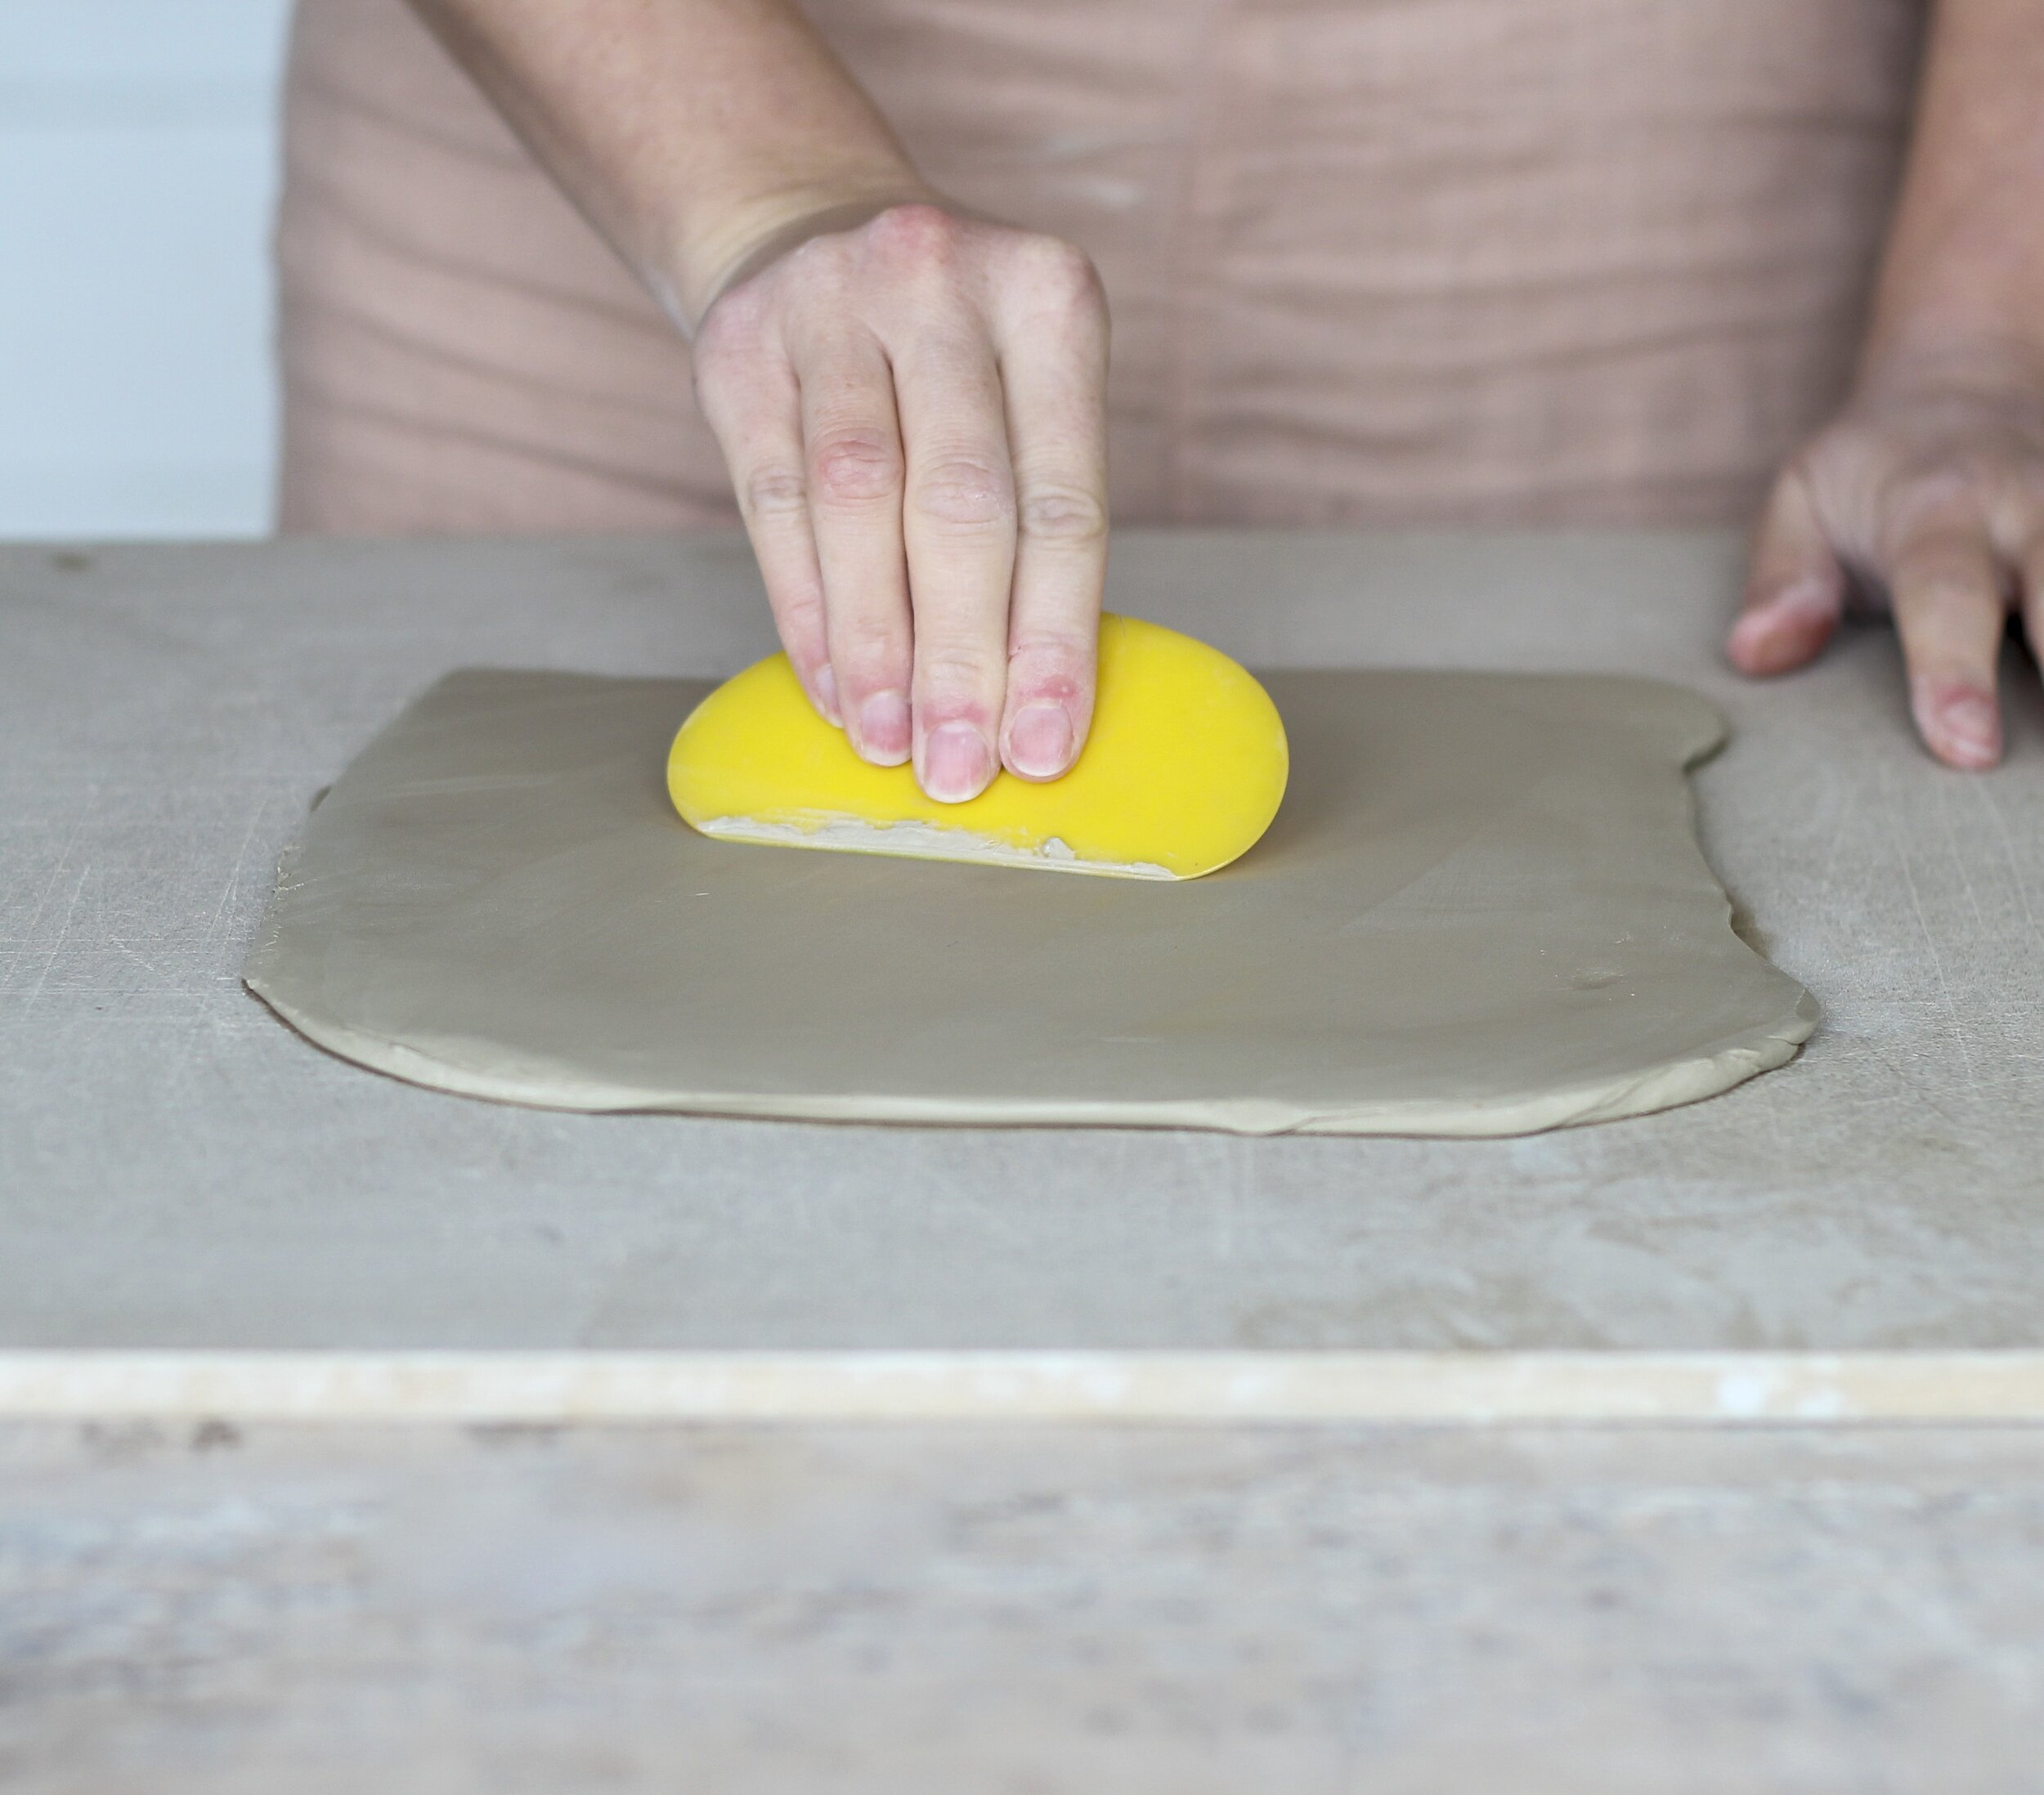
4) Use a rubber kidney to smooth the surface of the clay, this helps to reveal any air bubbles which you can then pop with a needle.
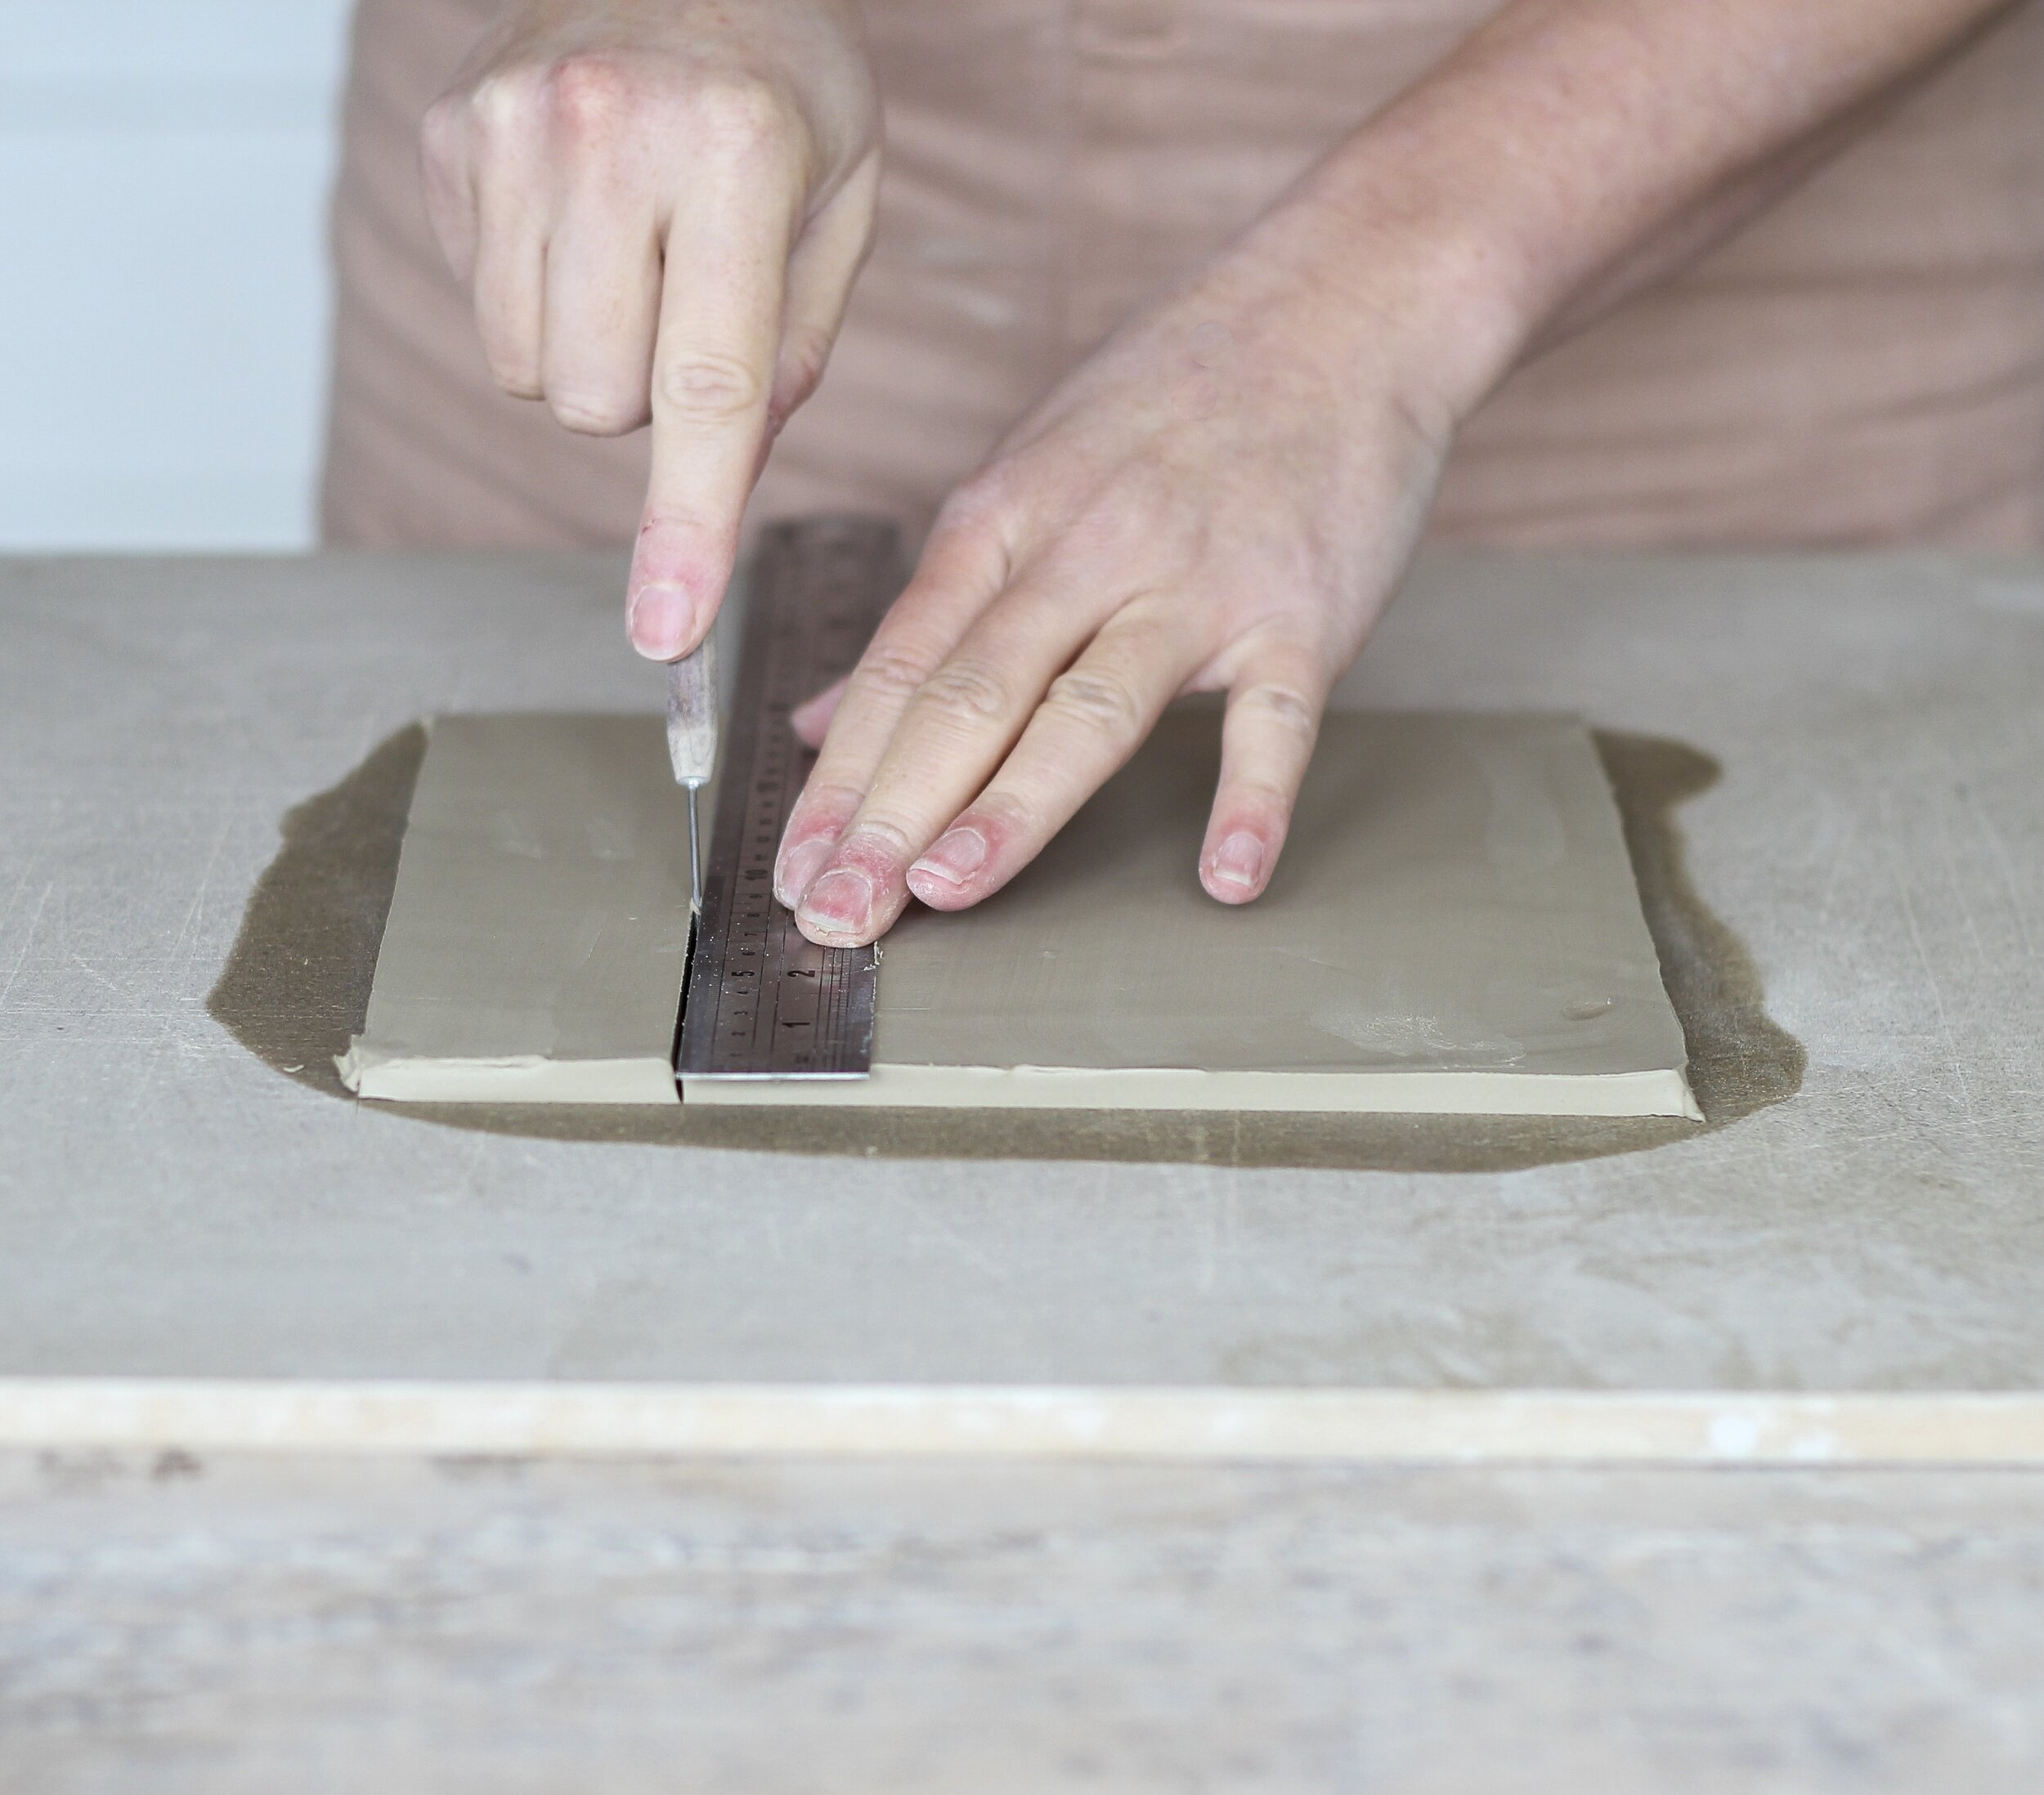
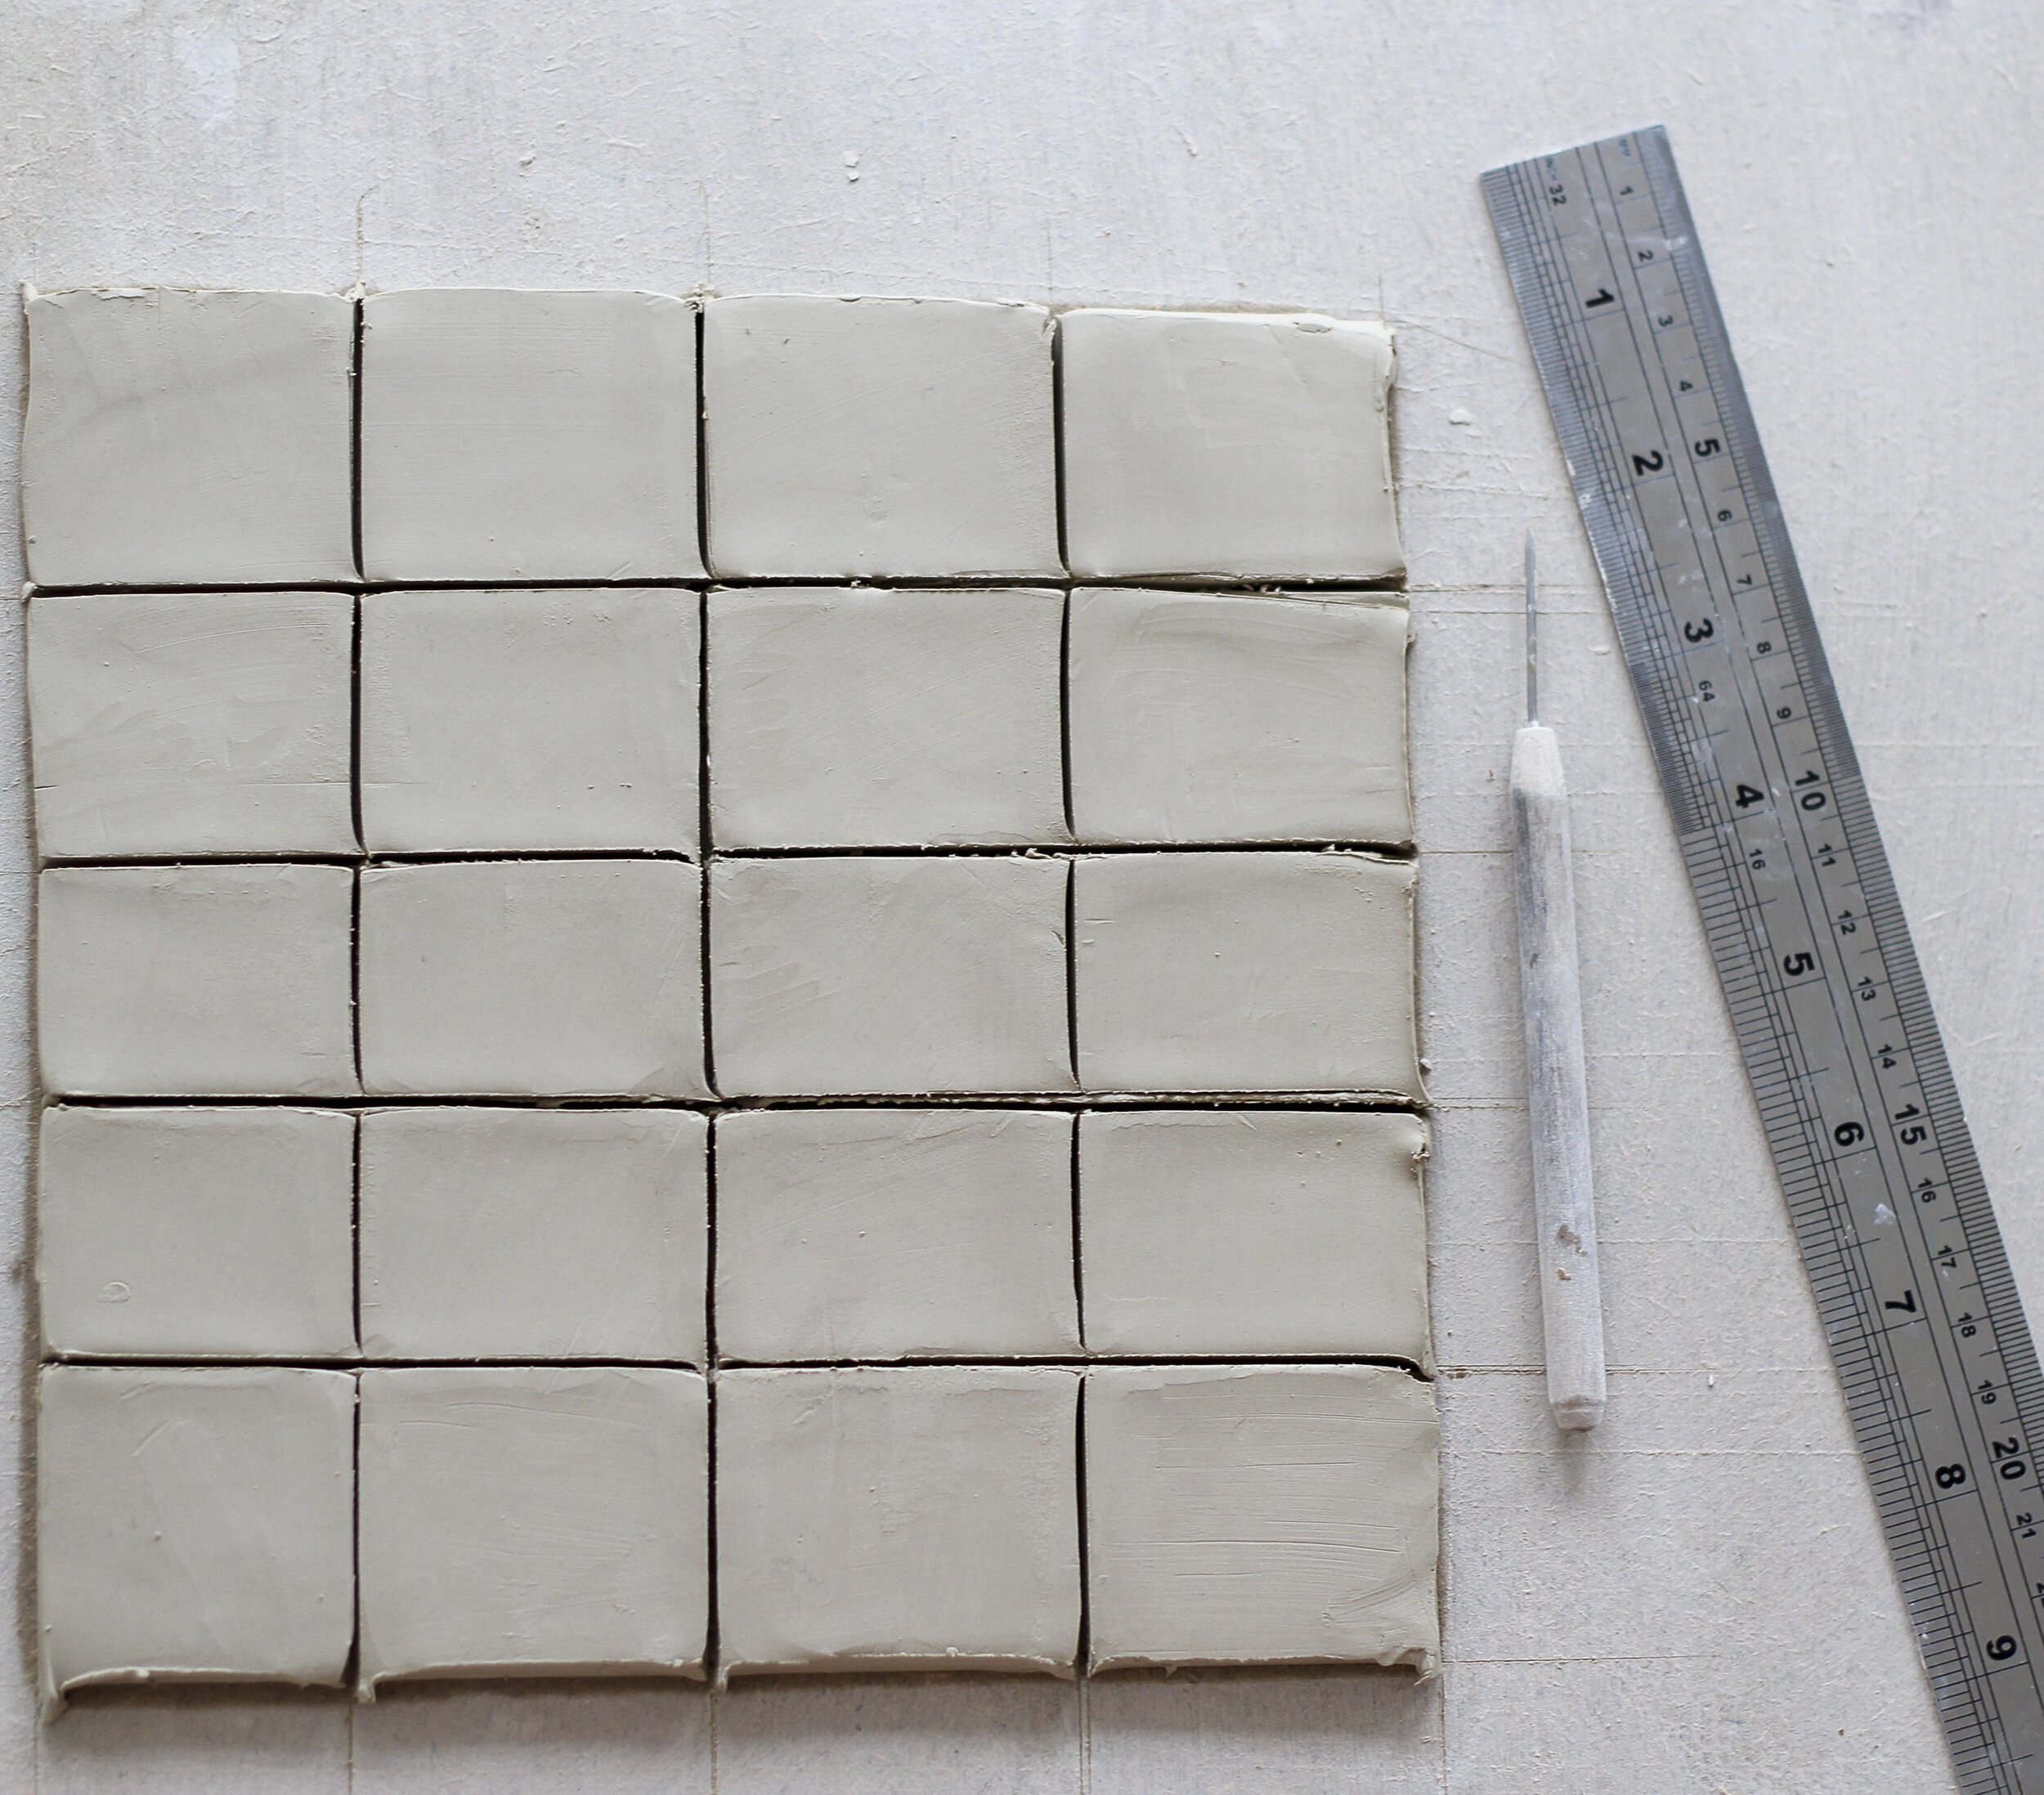
5) Using a ruler and a needle tool measure and cut the clay slab into equally sized tiles about 1.5 - 2 x. 2- 3 inches. They don’t particularly need to be neat, you can smooth over the edges with a damp sponge or your finger when they are leather hard if you wish.
6) Create holes in the tops of the tiles with your needle tool or a potters hole punch. This allows you to hang them on a board or by string to keep them organised in your studio. Be careful not to go too near the edge.
7) You can add texture to your tiles using stamps, wooden rollers, lace or even pressing in flowers from the garden. I used a wooden paddle to press in this pattern when the tiles were leather hard. Texture like this will help you to understand how your glaze behaves when thin and when thick.
How to Make Test Tiles (by Throwing)
Vertical test tiles like these help you to understand how your glaze will move and flow in the firing when on forms such as mugs and bowls.
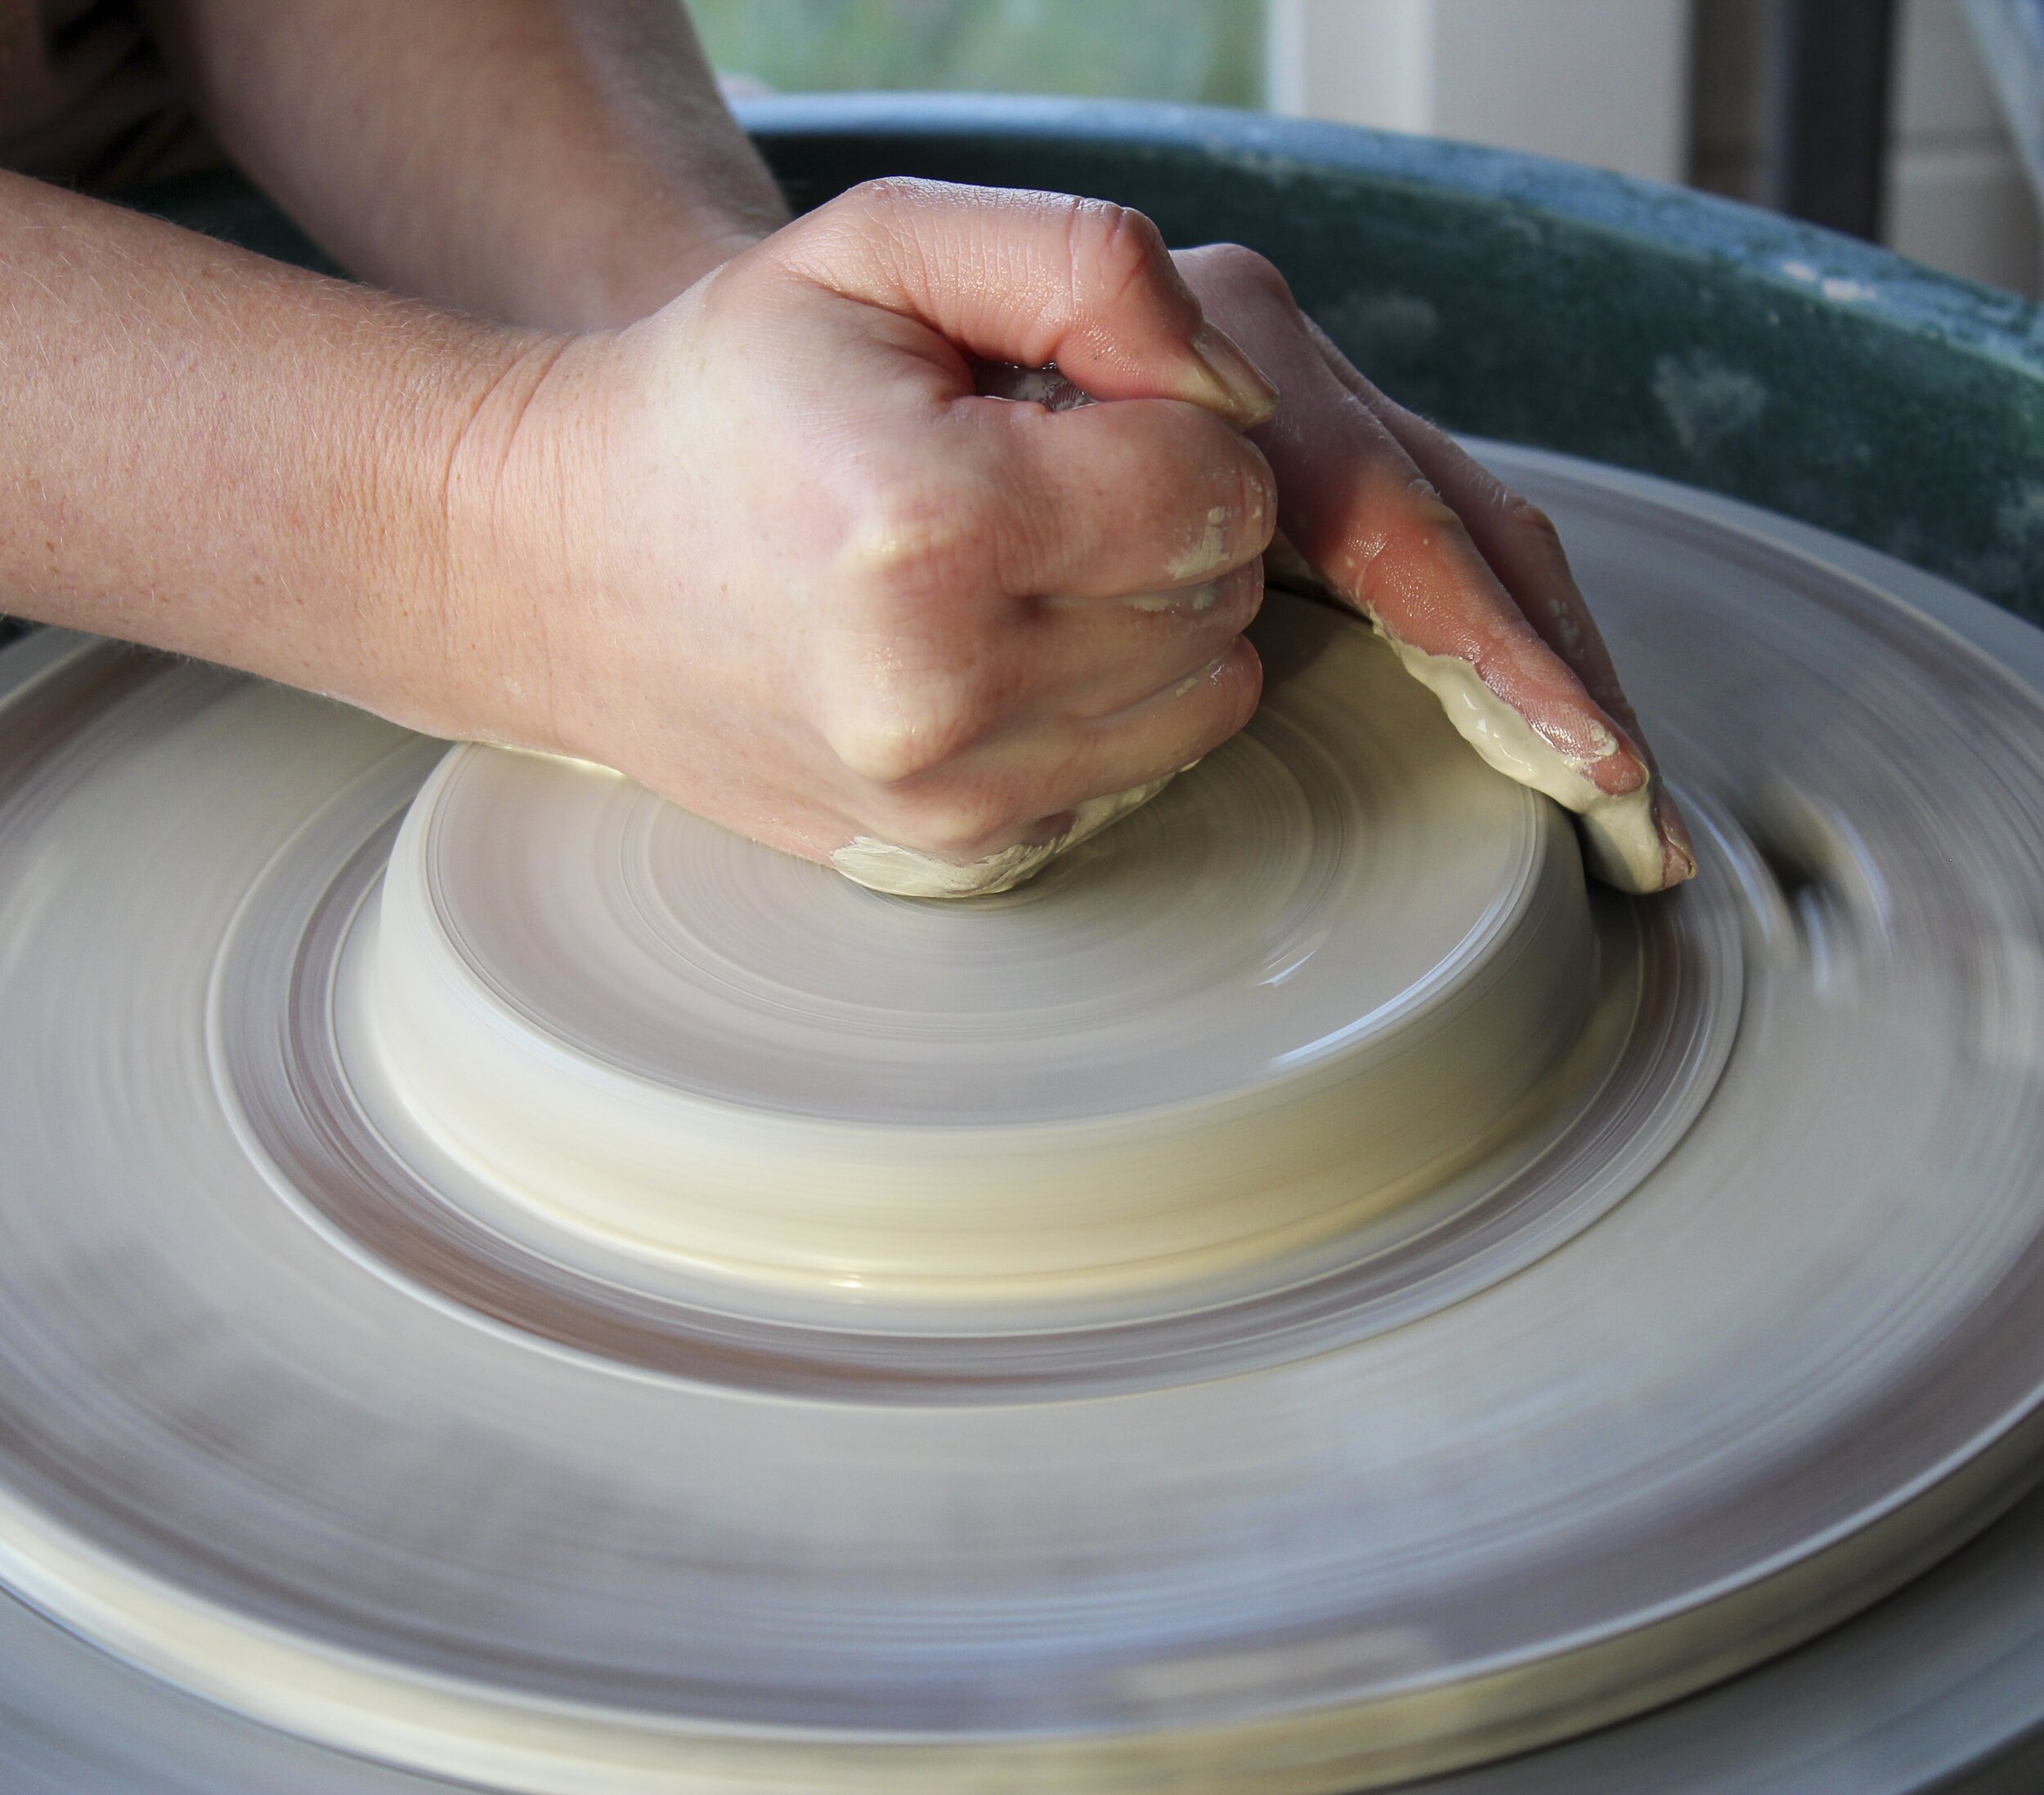
Throwing onto a batt to make these test tiles is the easiest way. If you don’t yet have a batt system, you can attach a wooden batt to your wheel head by using clay. Simple use 500g of the same clay as you normally throw with, centre it and cone it up and down once or twice. Push down with the side of your fist to create a pad of clay 2/3rds the diameter of your wheel head x 1/2 inch thick. Using a bamboo knife cut 3 - 5 equally spaced channels into the clay, these can be circular or fan out in straight lines from the middle like the spokes of a bicycle. Place your batt on top and bash it down with the side of your fist. The channels create an air lock which will hold your batt in place. When done, lever the batt off your wheel using a metal knife. Alternatively, after a making session you can throw the cylinder on your wheel and leave it overnight to get leather-hard before wiring it through and lifting it off the next day.
1) Weigh out 1 pound (500 g) of clay. Prepare the clay by wedging to make it easy to throw with and get rid of any air bubbles. Centre your clay and cone up and down 2 - 3 times.
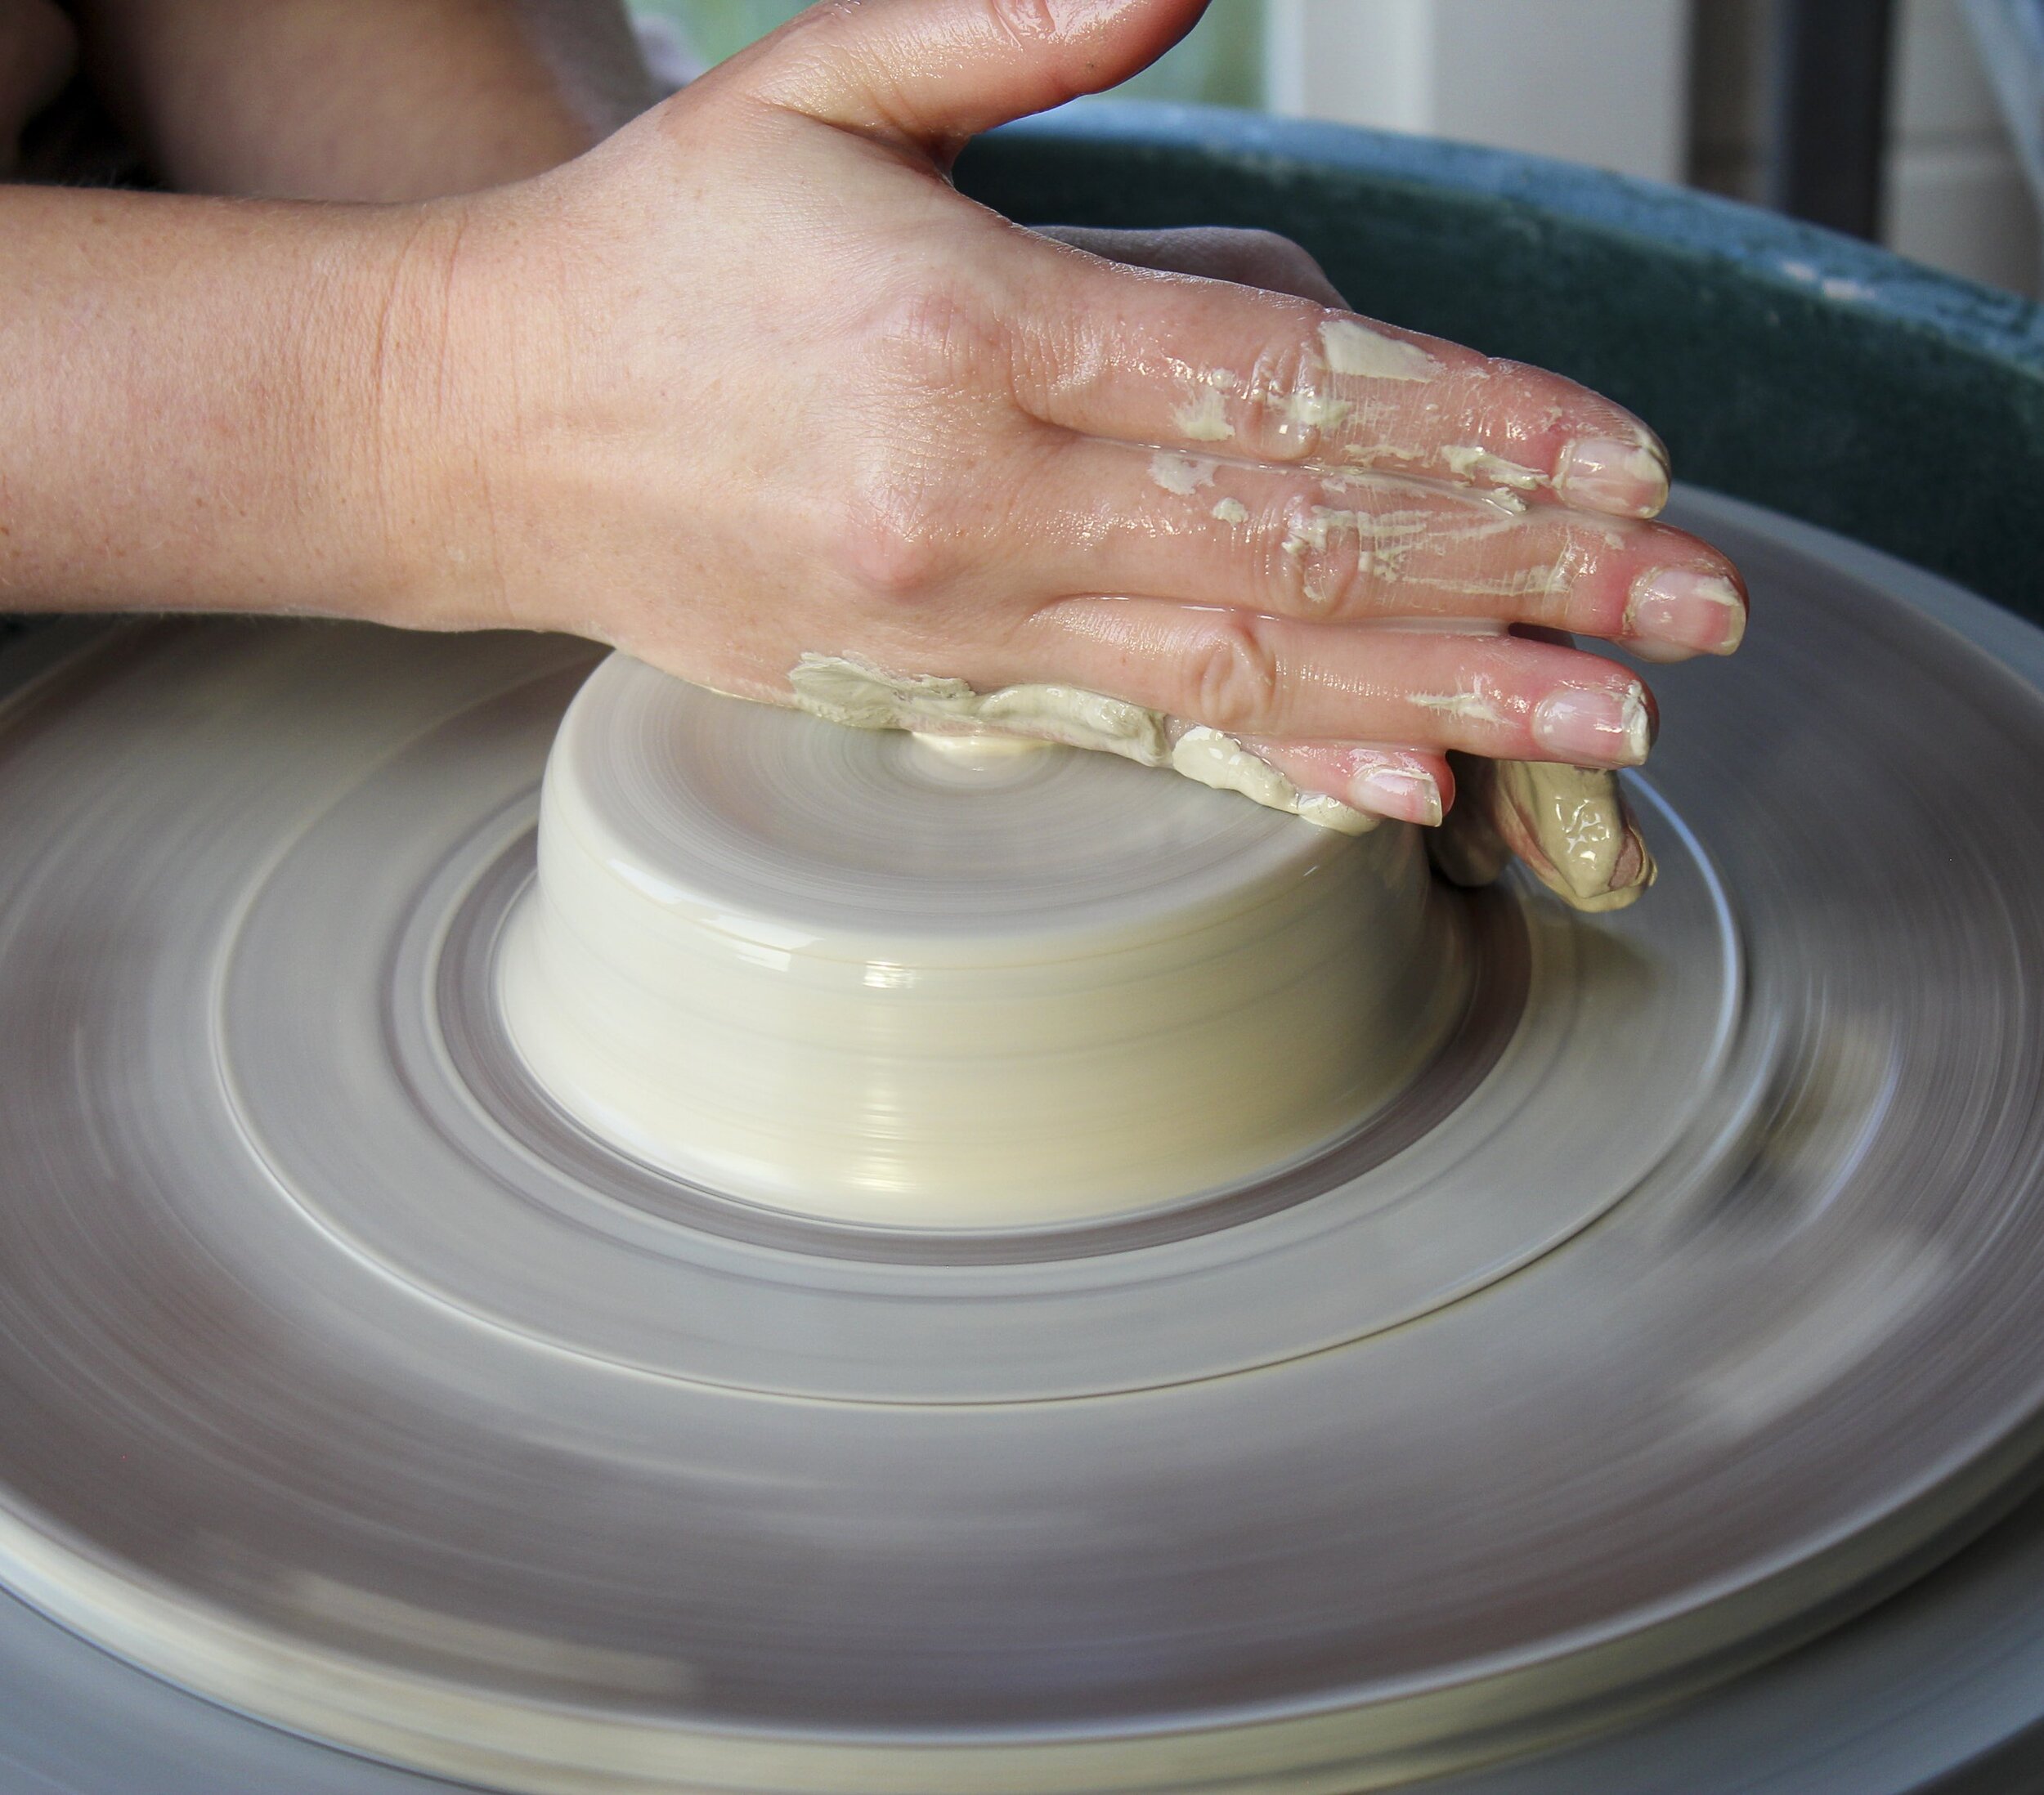
2) Now you’re going to throw a wide cylinder without a base. Push down on the centred clay with the side of your fist to create a wide disk approx 5 inches in diameter. Find the centre with your finger and push right the way down until you meet the wood of the batt/or metal of the wheel head. Open out like you would to make any other cylinder, pulling the clay out until it’s approx 5 1/2 inches (14cm) wide.
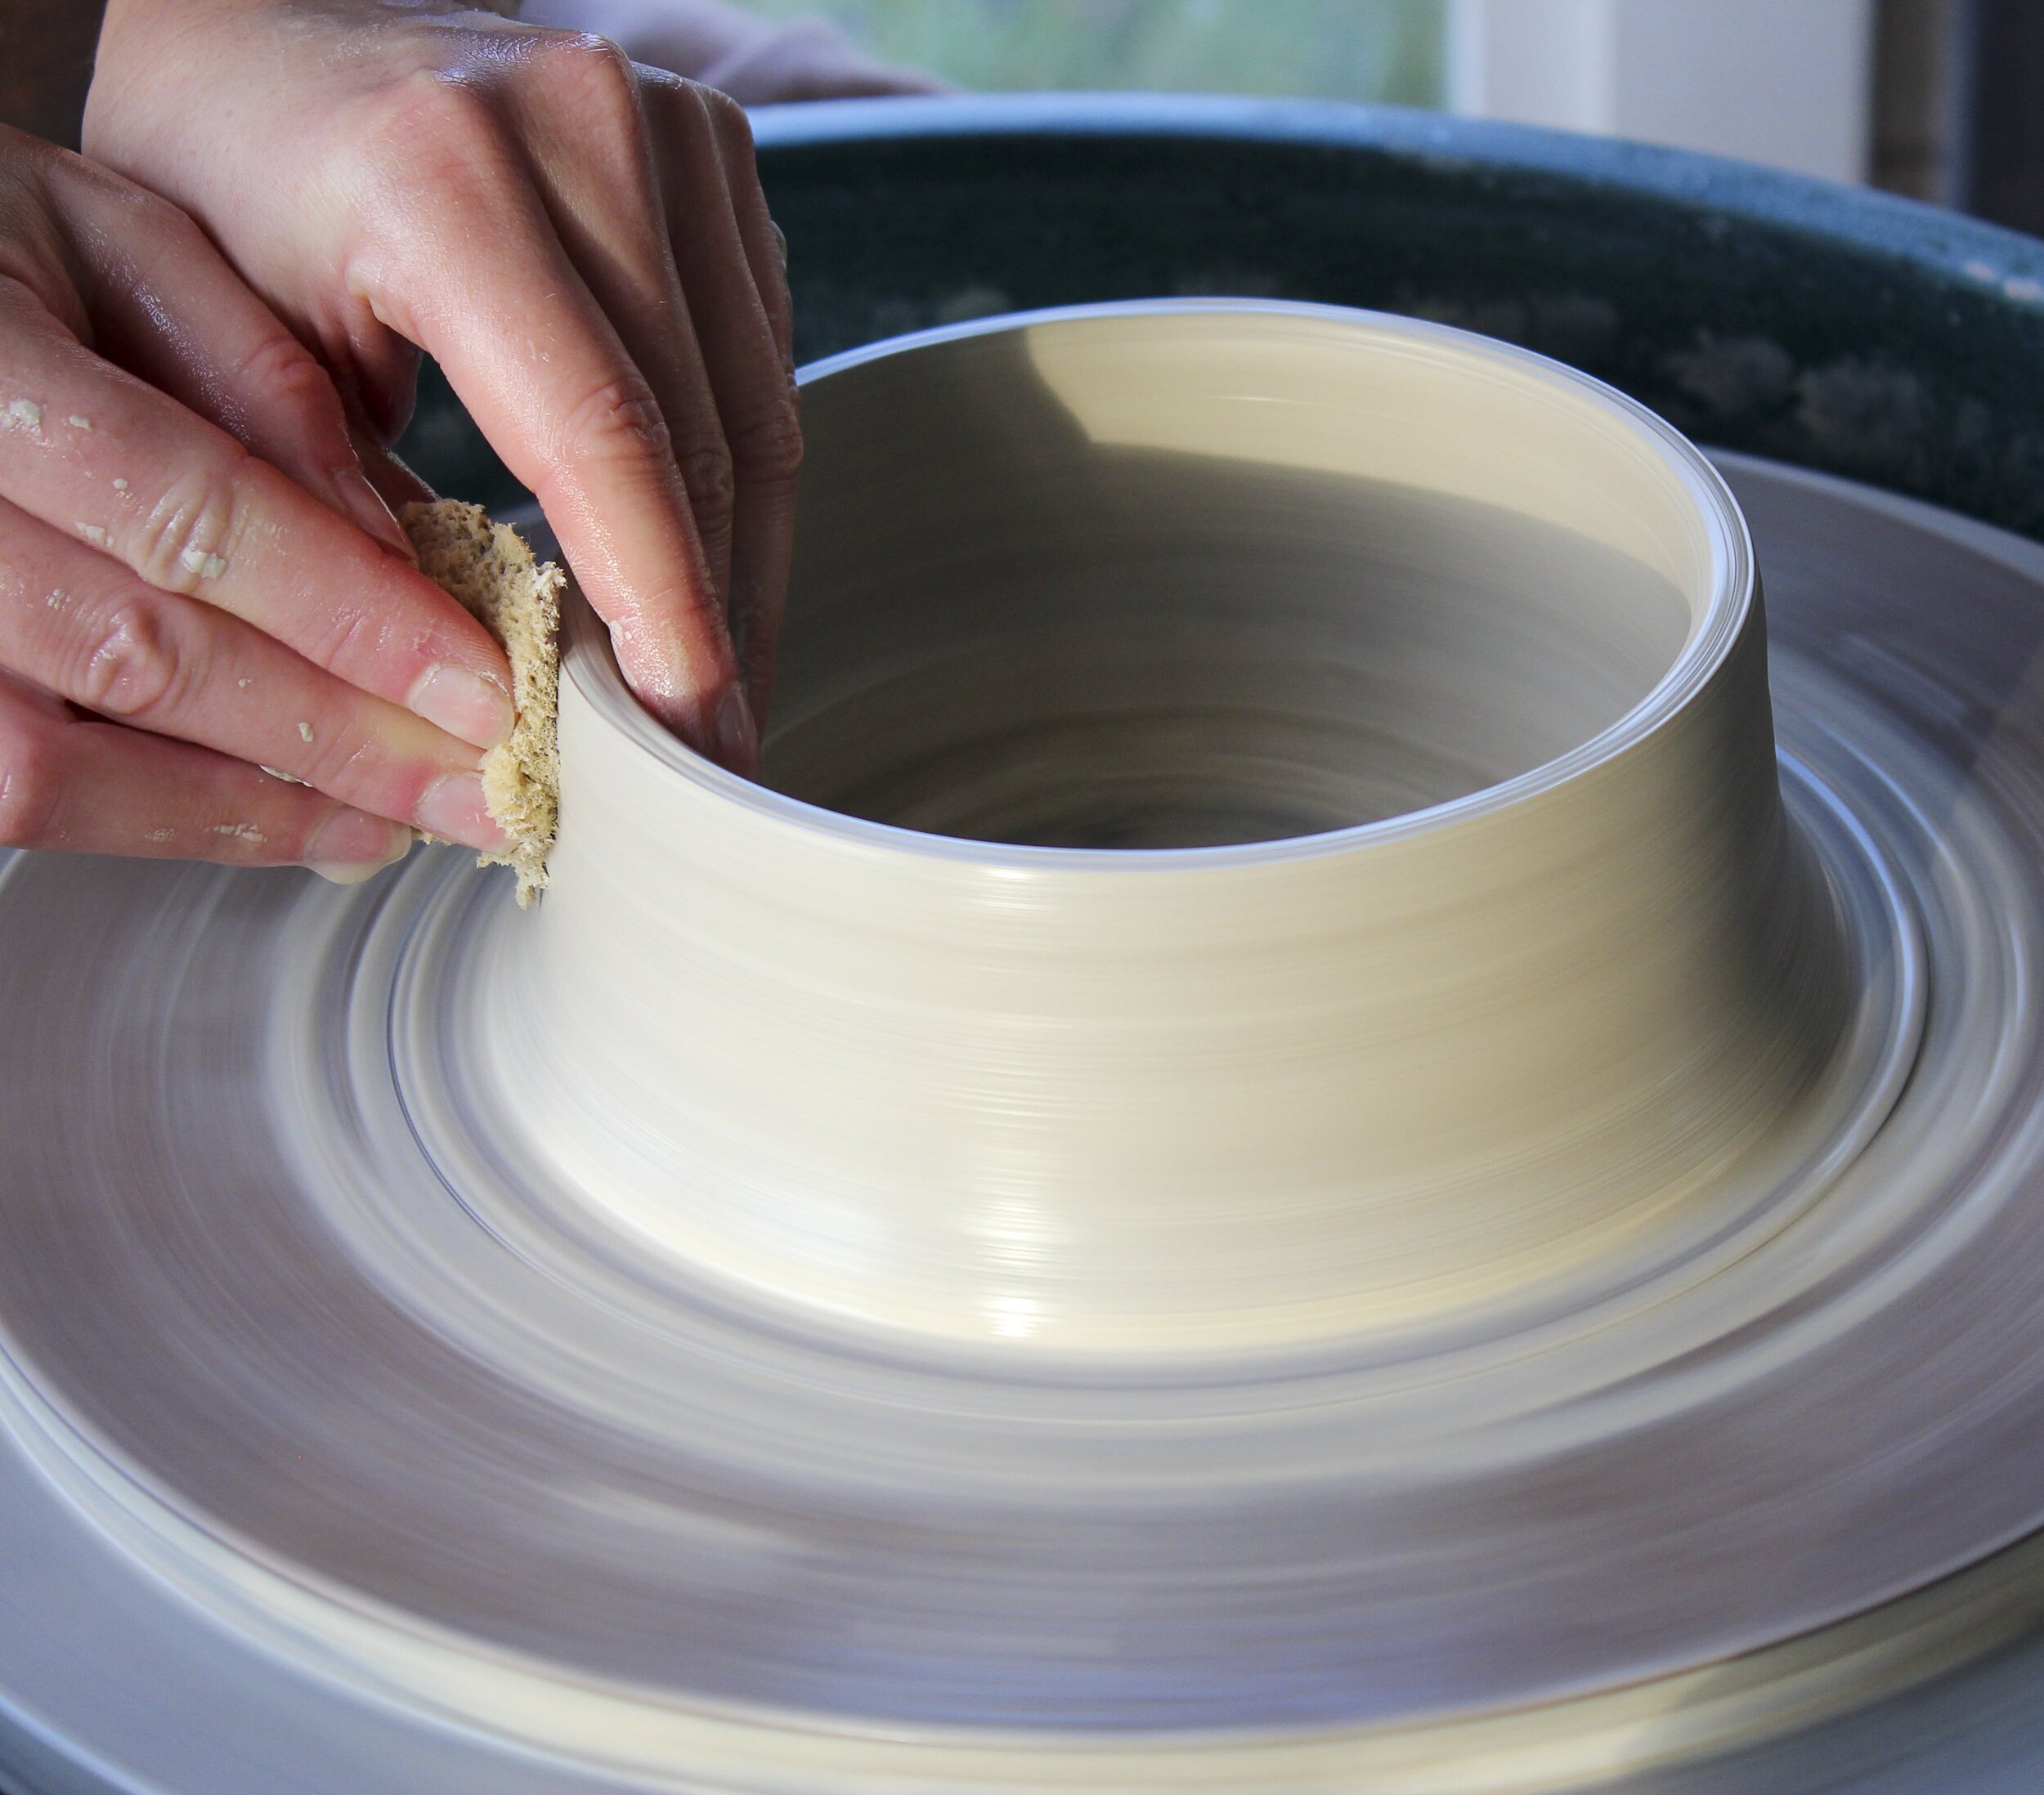
3) Use the thumb pull and then sponge pulls to pull up the walls until they are approximately 2¼ inches (6 cm) tall. You want your test tiles to be same thickness as your pottery normally between 3 - 5 mm thick.
4) Now you’re going to make a little lip at the bottom of your cylinder which will mean it will stand up and will help catch any runny glazes protecting your kiln shelf. Using your index finger on the wheel against the outside edge of the cylinder, gather the clay up to create a little lip. Repeat this on the inside. Hold your finger on the clay where the base of the wall meets the lip, like in the picture below, to create a channel for the glaze to pool.
5) Set aside to dry until leather-hard.
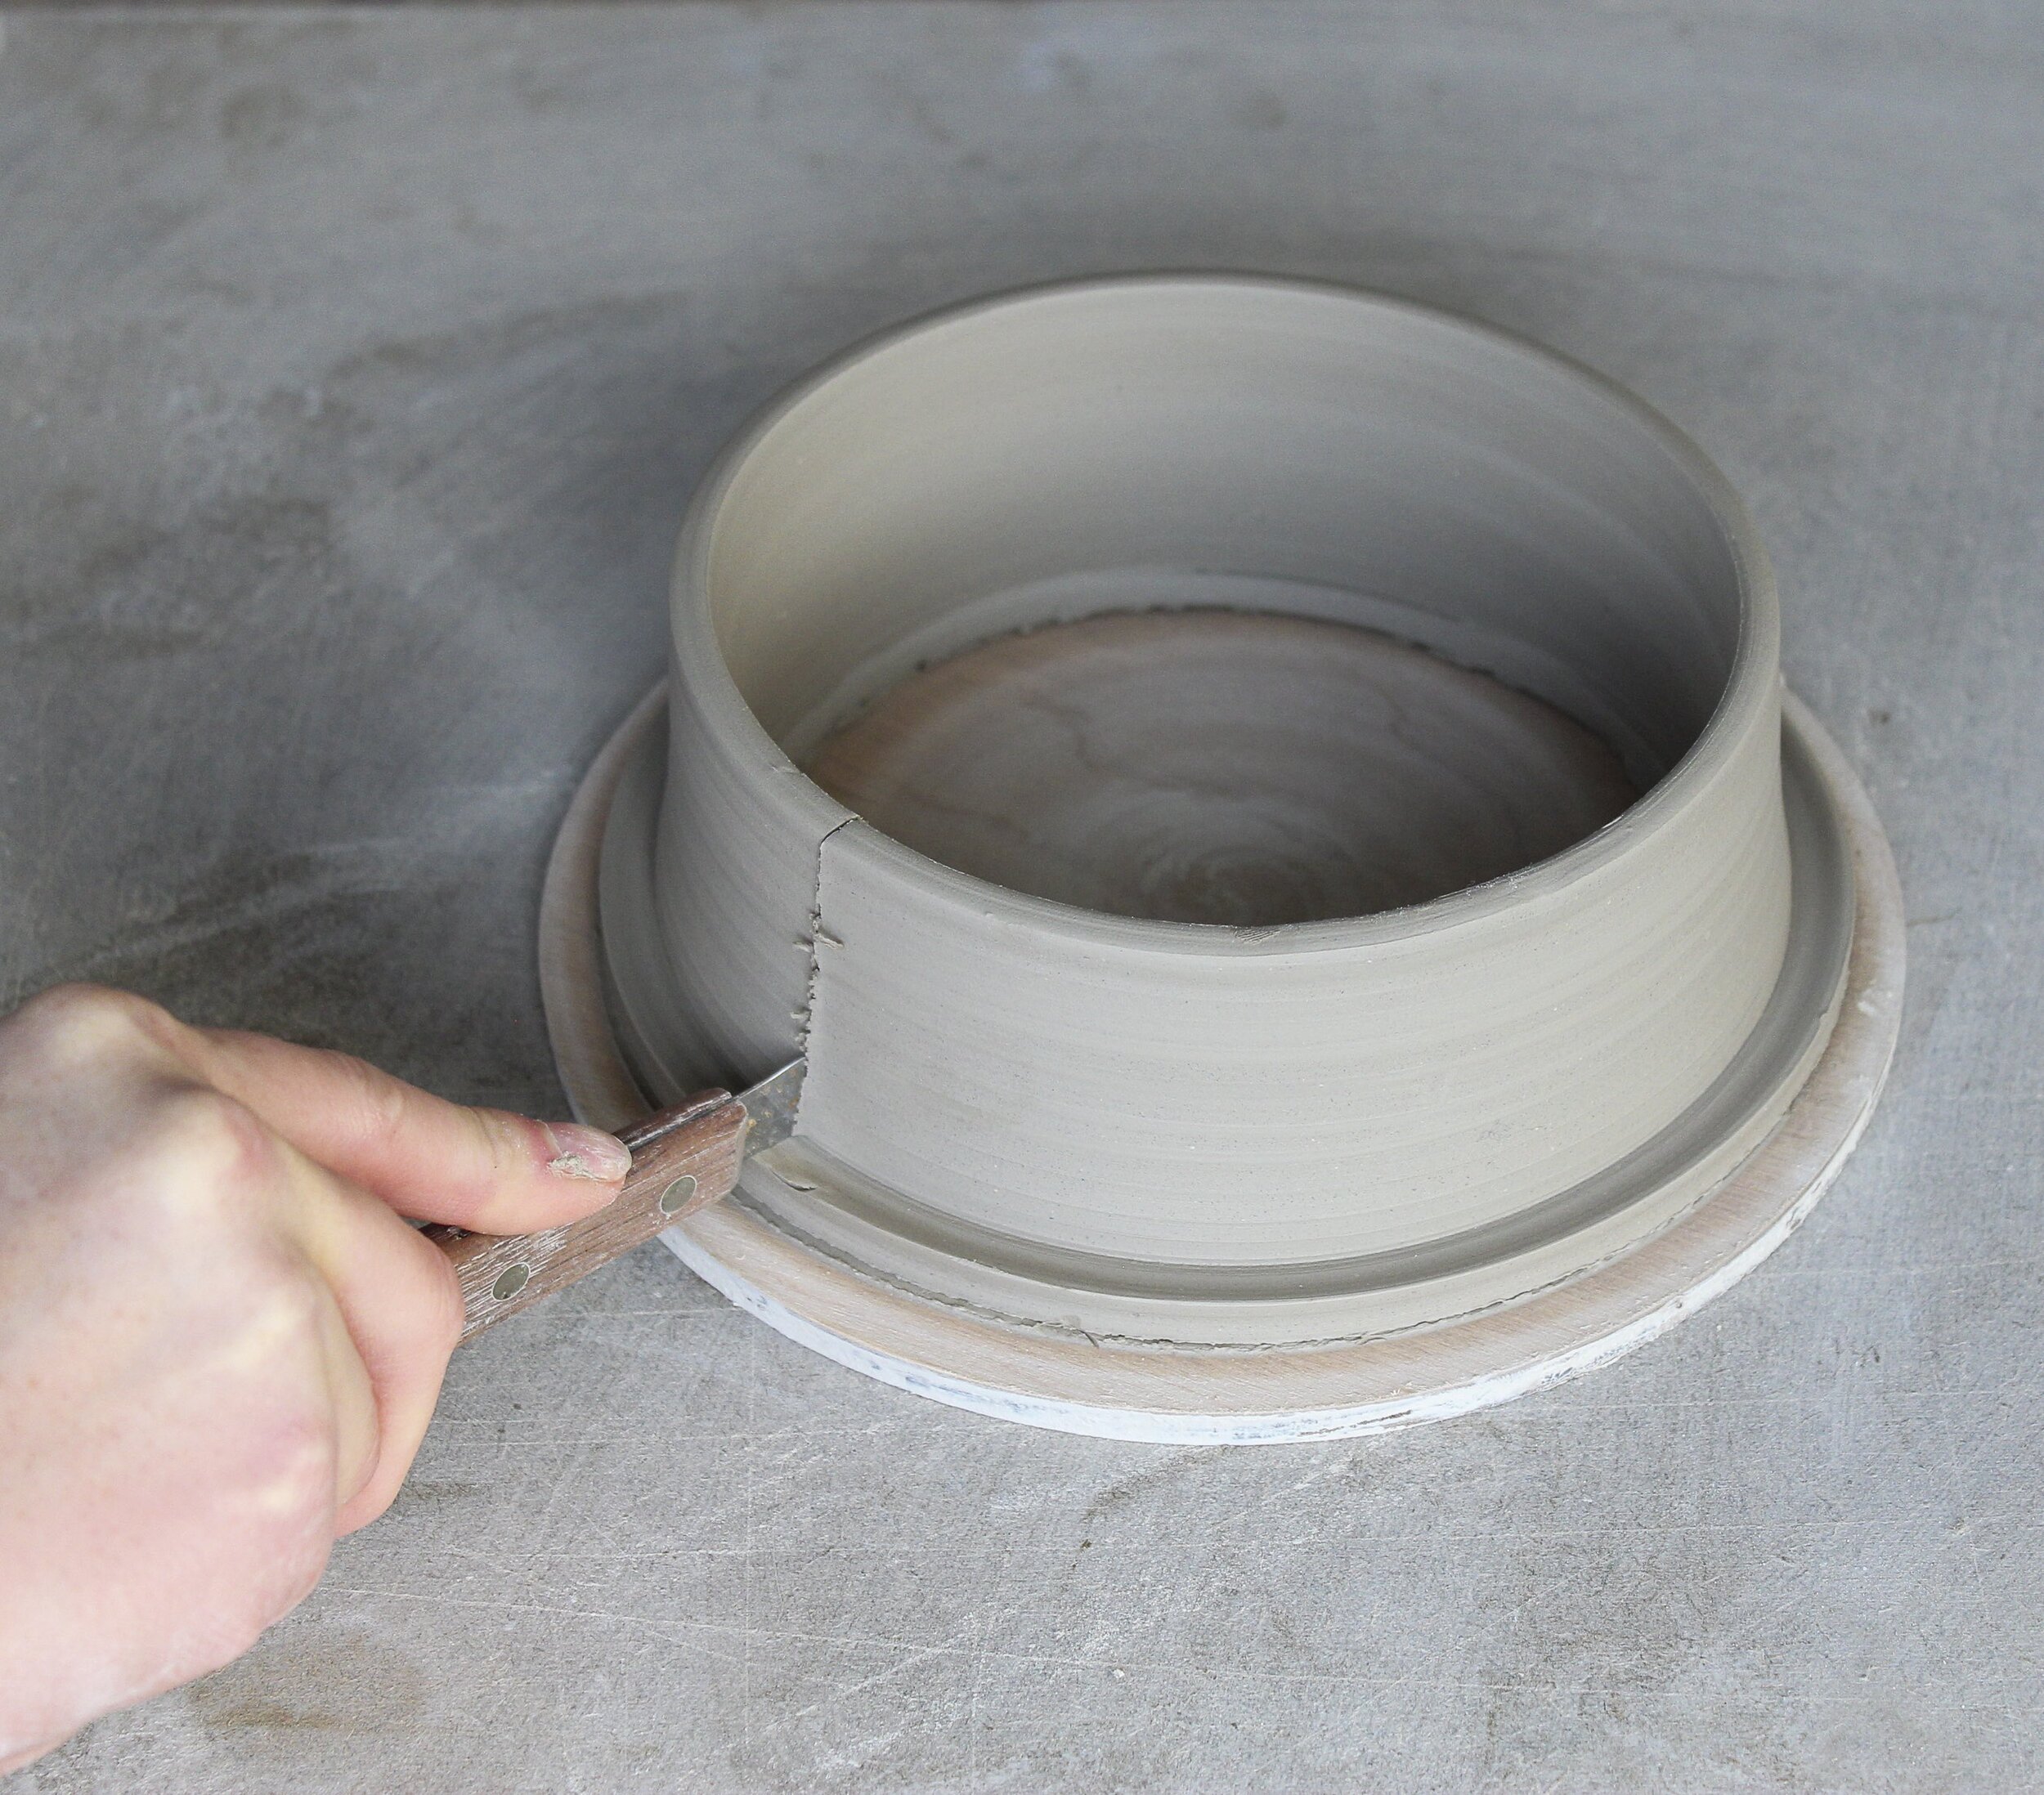
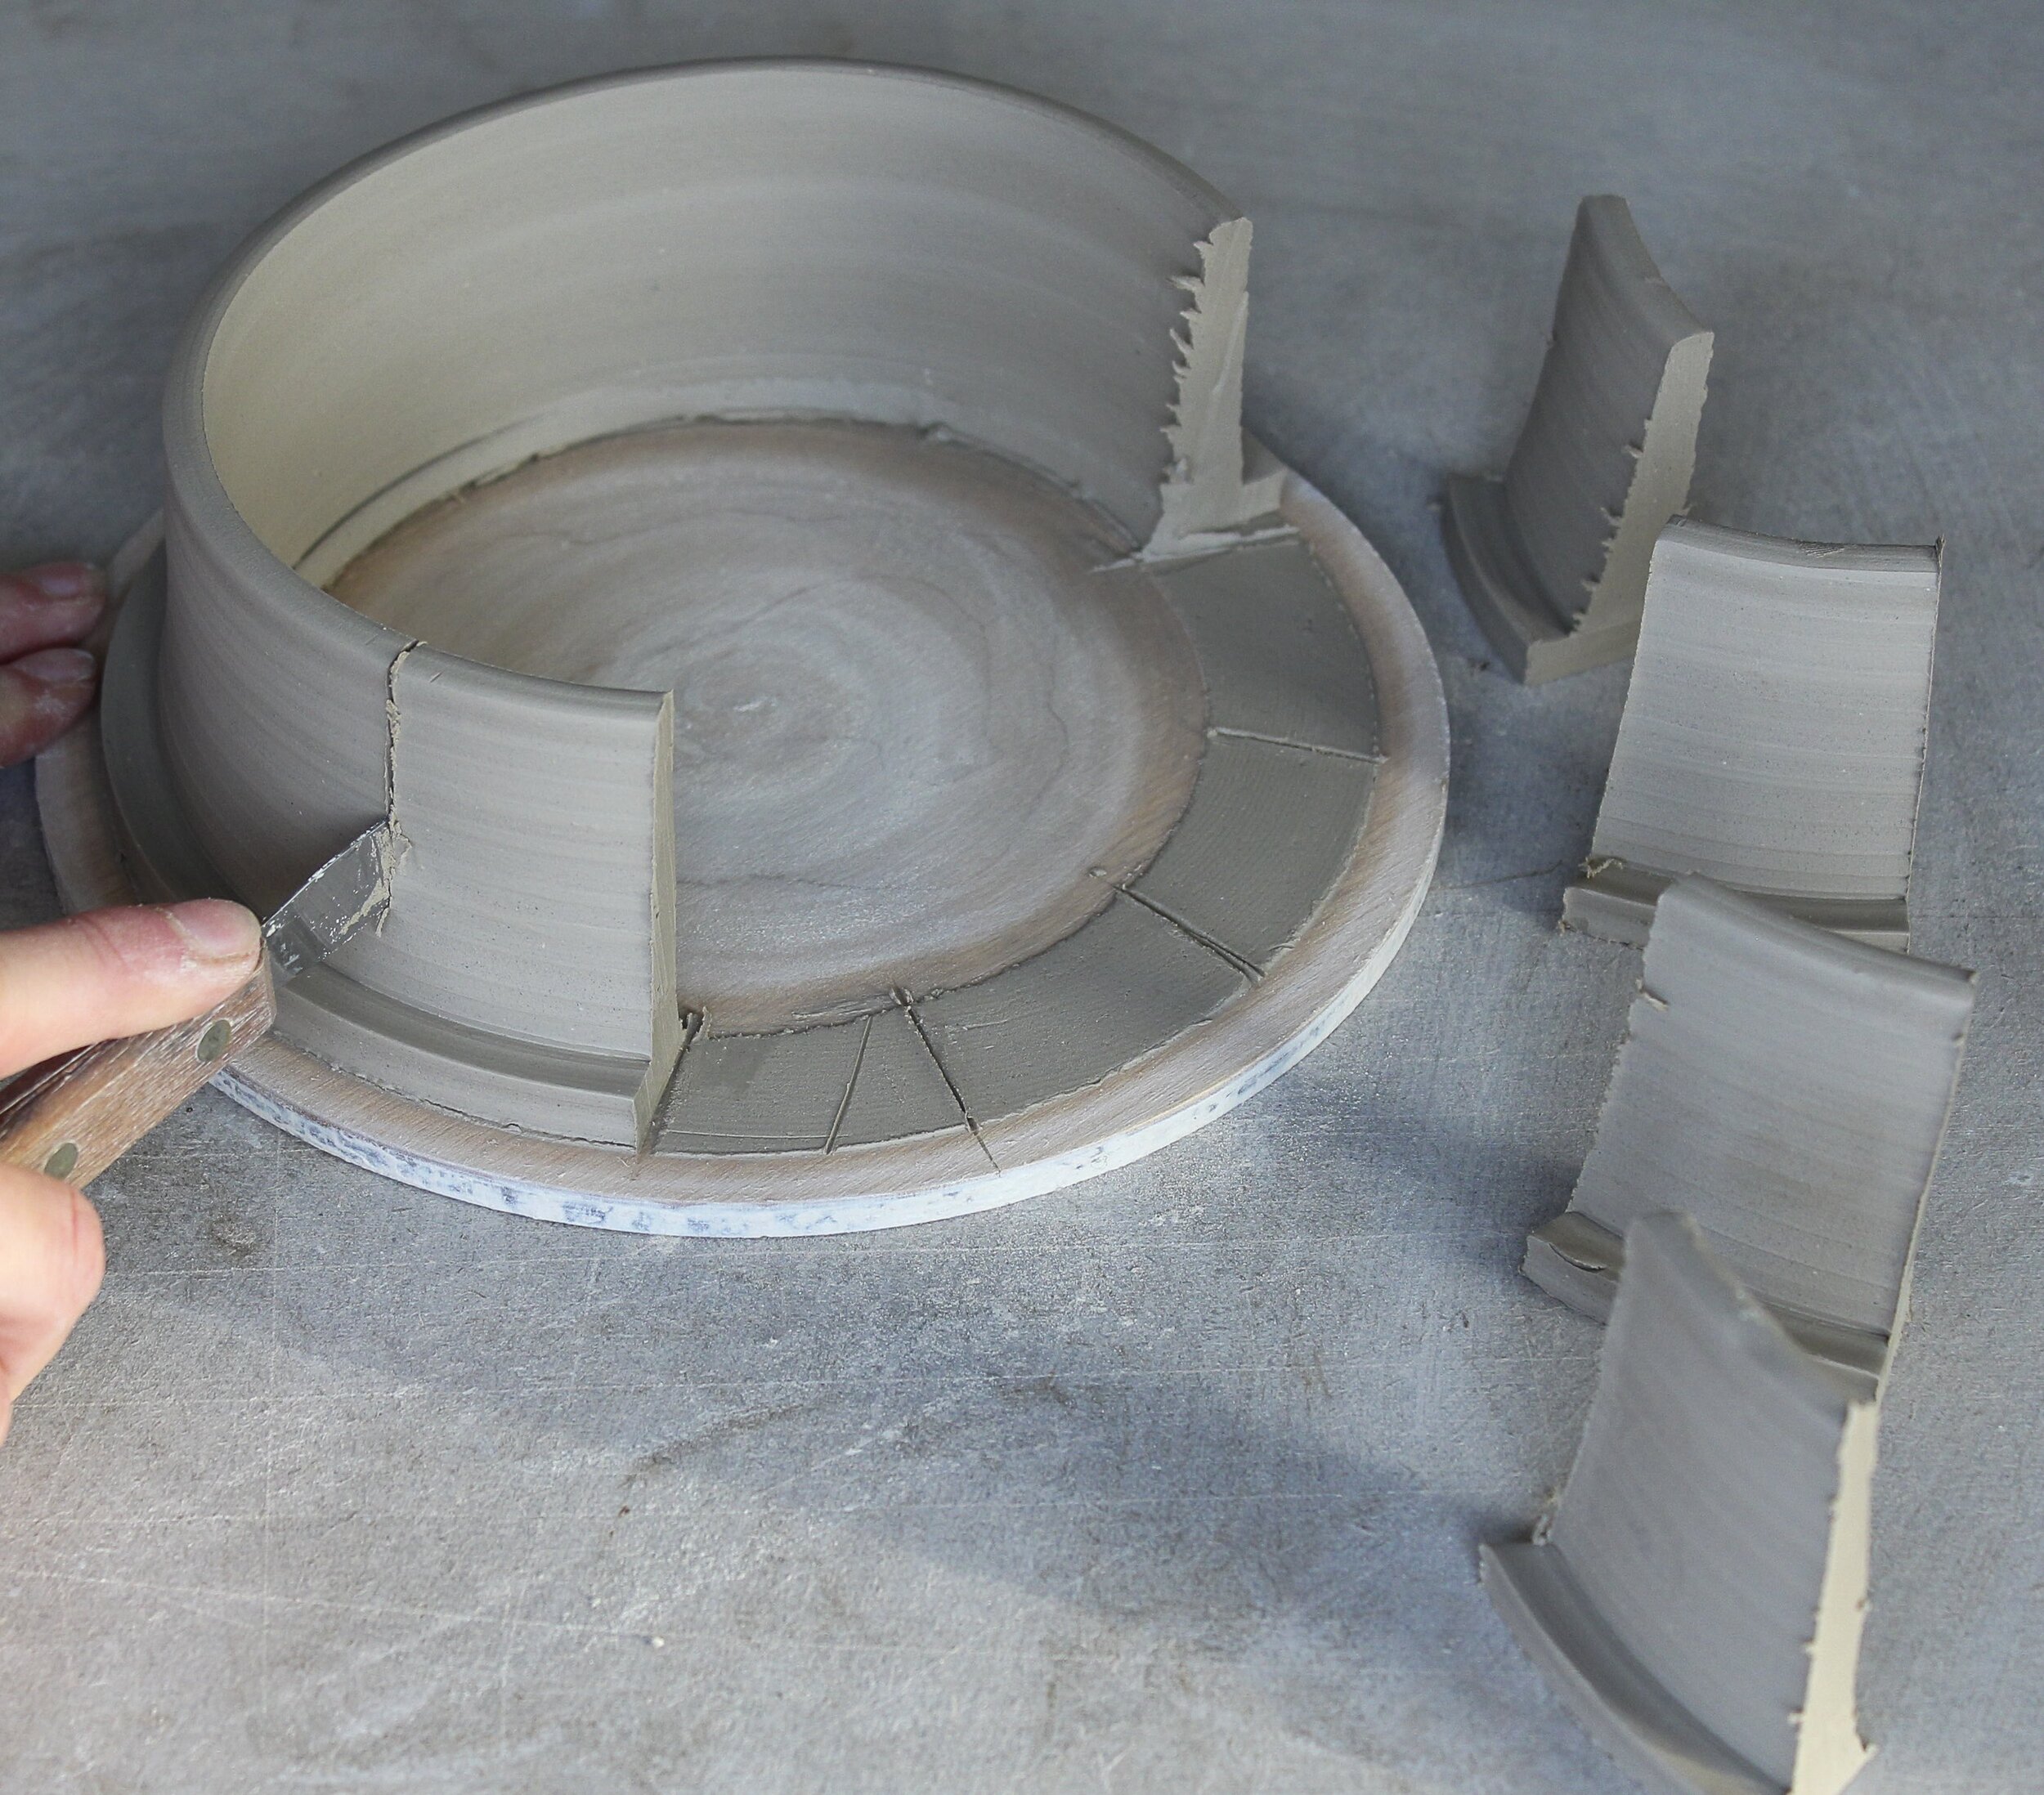
6) Once at the leather-hard consistency wire through the base of the cylinder. Use a blunt craft knife to cut the cylinder vertically into approximately 2 inches (5 cm) stand up tiles. You can tidy up the edges with a sponge to get rid of any rough gnarly bits.
7) Set the tiles to dry completely. Bisque fire to 1940ºF (1060ºC ) cone 04 and use them for testing new glazes or glaze combinations. It’s always a good idea to have a stash of test tiles in your studio so whenever you buy or make up a new batch of glaze you can pop a test tile into your regular firings that way you won’t be using an entire kiln for just these teeny tiny tiles.
For step by step projects, tons of great information, dozens of techniques and pro tips - buy my book ‘Pottery for Beginners’ here. The perfect book budding potters!

