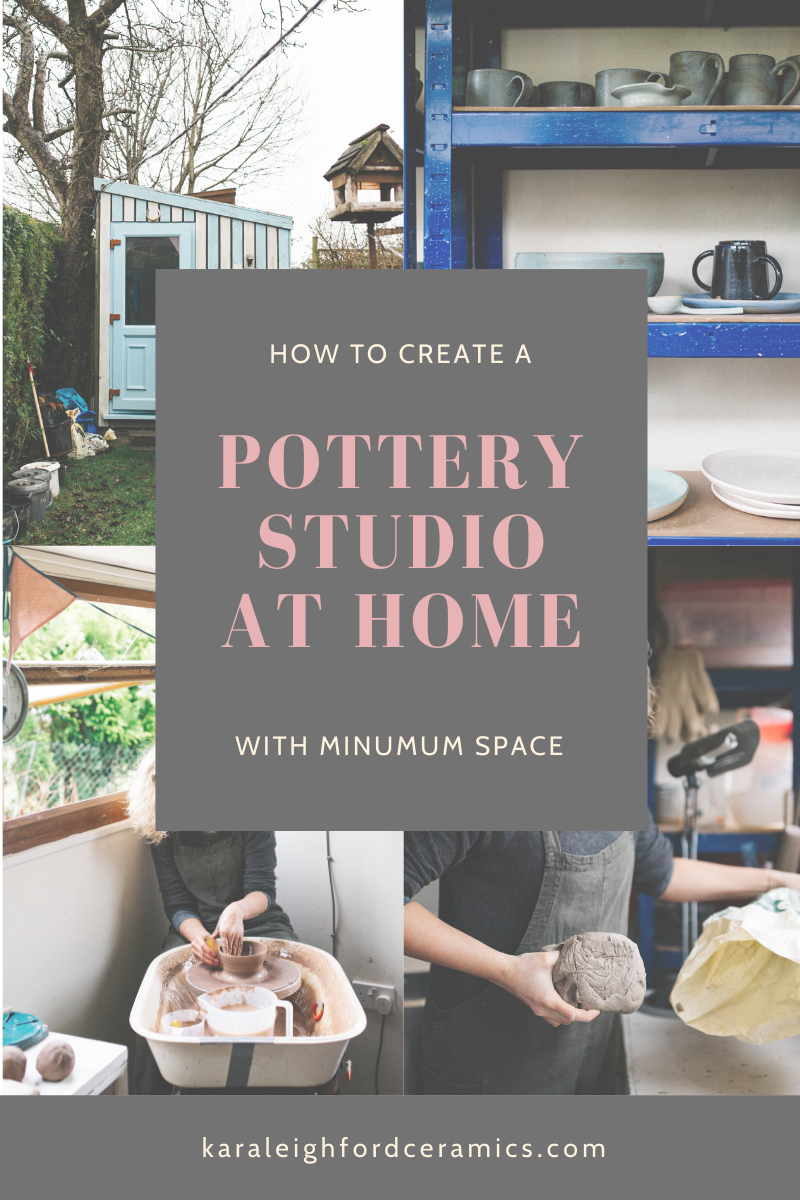
Creating a Pottery Space at Home (with Minimum Space)
So many folks want a creative oasis to call their own and right now it’s more important than ever to find our own little pockets of joy.
Thank goodness for pottery, eh?!
Even though the community studios are closed you can keep making pottery at home and even though you do need a bit of space there are many, many ways in which you can economise.
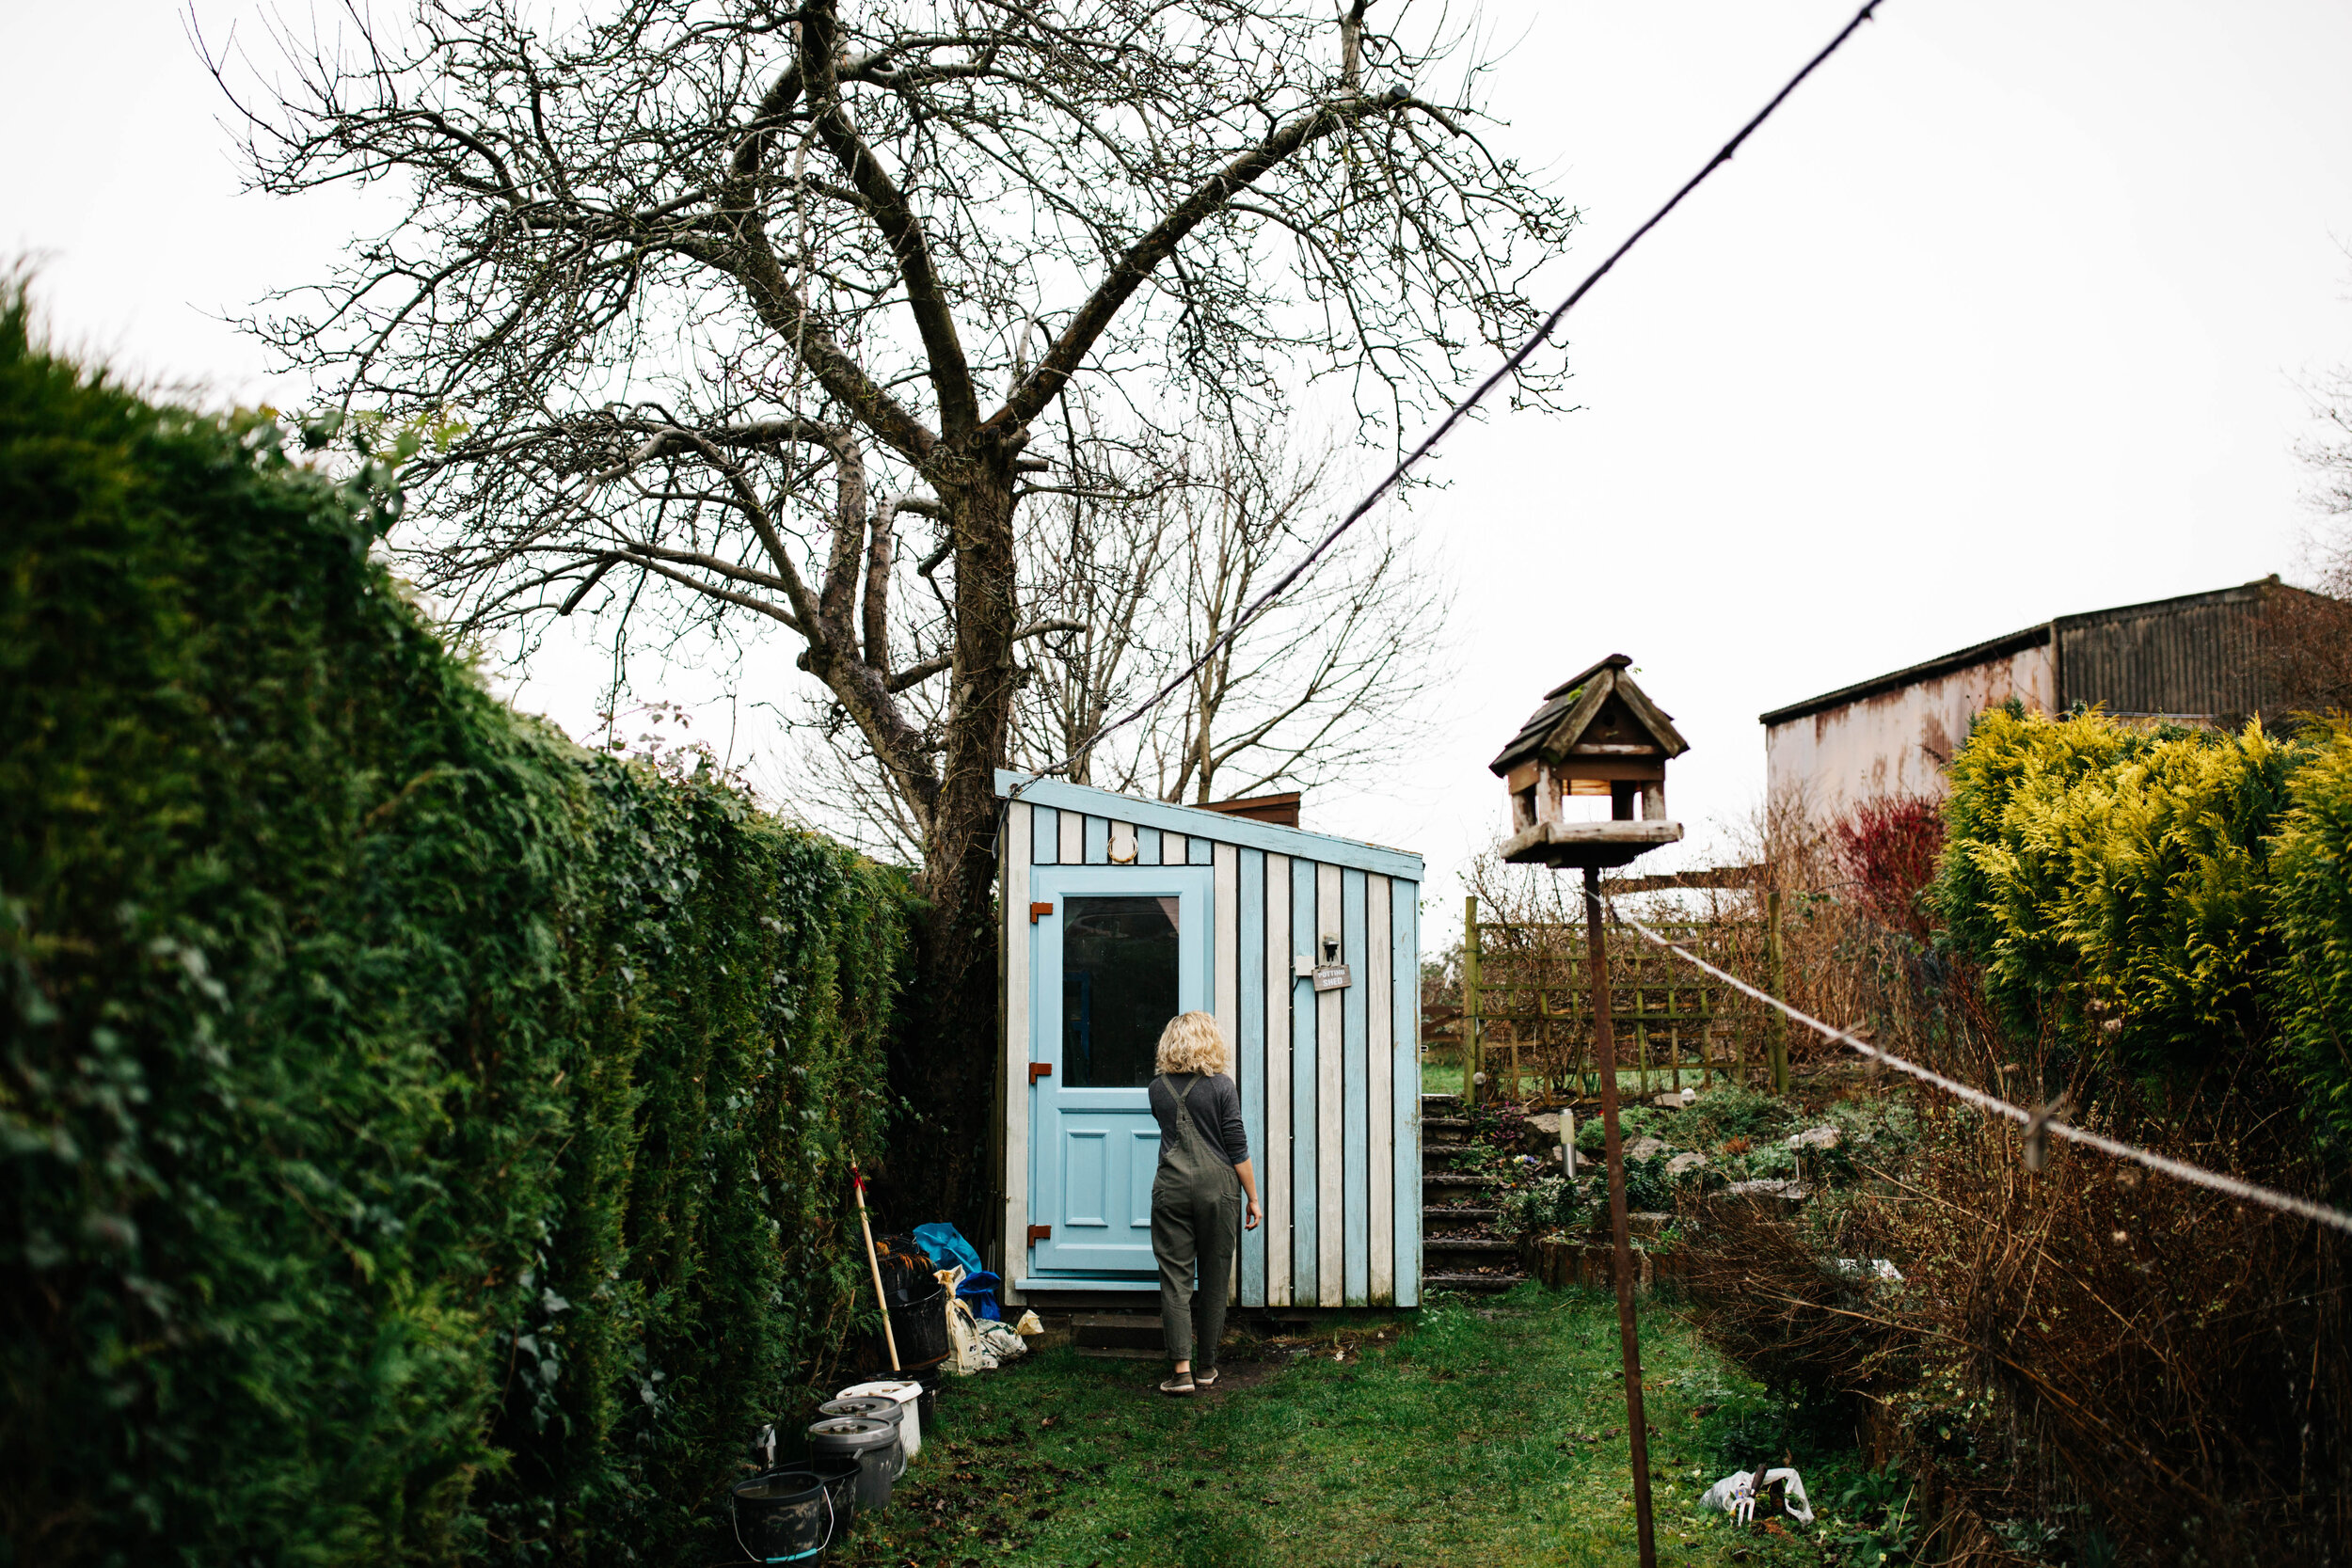
For years I made pottery in my dining room, with a wheel, an old out of tune piano and a dining room table sharing the space. I then ‘upgraded’ to a 6ft x 9ft shed in the garden. In fact, this was where I started my business. For a couple of years I had everything I needed in there including: wheel, kiln, glazes and packaging materials before I eventually started spilling out and in 2018, I built a larger purpose-built pottery studio in my garden - you can read about that here ( but don’t get distracted, read this first😉).
Here are my tips from years of spent creating pottery from a tiny space:

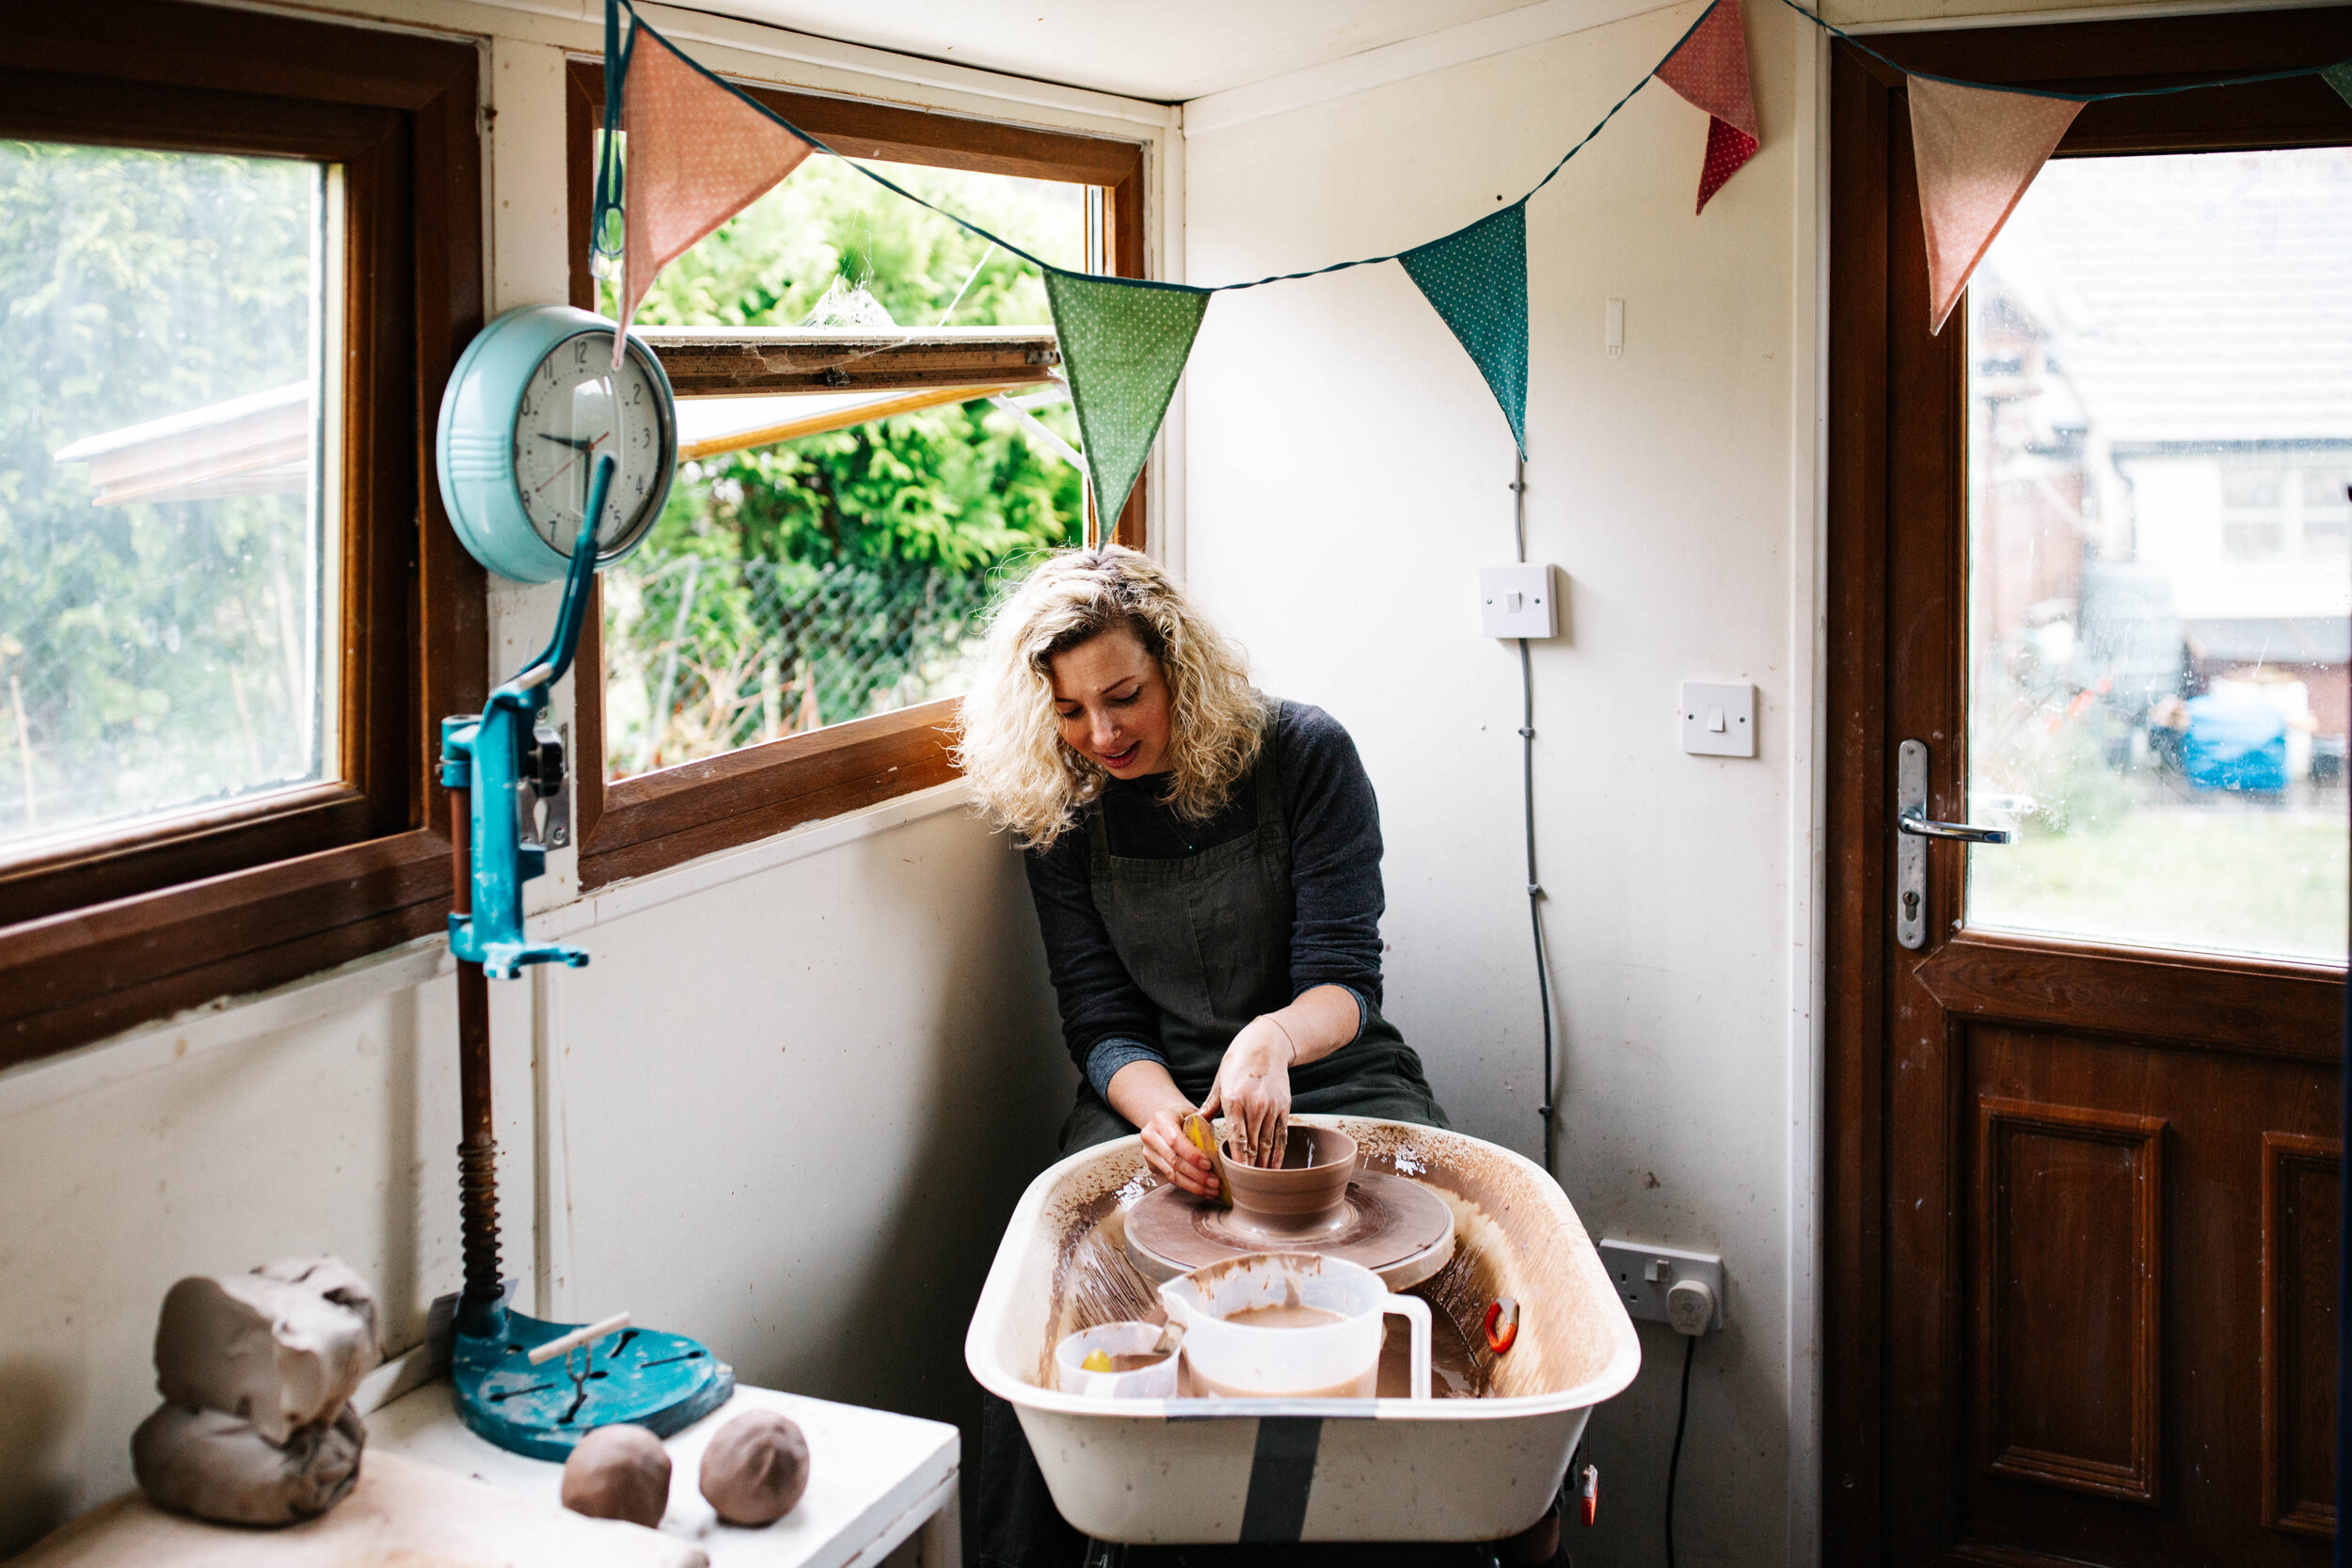
Firstly, where to locate yourself? This will very much differ for everyone, depending on your domestic situation, who you live with, if you have a garden, garage or spare room. Minimising dust is the main consideration when thinking about where to put your pottery space. Clay splattered on carpet and soft furnishing is a no go as it’s not only undesirable from a decor perspective, you won’t be able to clean up well enough. The clay will dry and then when trodden on or brushed up against will produce dust which will potentially be in the living space of you and your family (clay dust is very bad for your health). Try creating the space somewhere which has wipe-down surfaces. Vinyl or tile flooring = good. Carpet or floors which are difficult to mop = bad. Kitchen or bathrooms are ideal although possibly not especially practical. A garage with a painted concrete floor would be perfect. A conservatory with a wooden floor maybe? How about a spare room which could have some cheap vinyl installed, even a boarded out loft. A shed with vinyl floor is ideal. If you have carpet throughout and no outside space, consider plastic sheeting or matting which can be wiped down with a sponge. Dust sheets aren’t great as they will also cause dust. Use hardy kitchen/bathroom paint for walls so it is wipeable.
If you are considering creating a bijou home studio of your own and budget is super limited, it’s only natural to think you should invest in a wheel first - mainly, I guess, because this comes first in the making process (plus kilns can feel a little scary) however do consider getting a kiln FIRST. You can literally make everything by hand that you can make on the wheel, no exceptions. Hand building is a fantastic way to learn how the material behaves, this may well give you an advantage when you eventually do get back to the wheel. You don’t get the wheel practice of course but you can at least go through the whole making process from start to finish and learn about glazing and firing too, you can’t do that without a kiln.
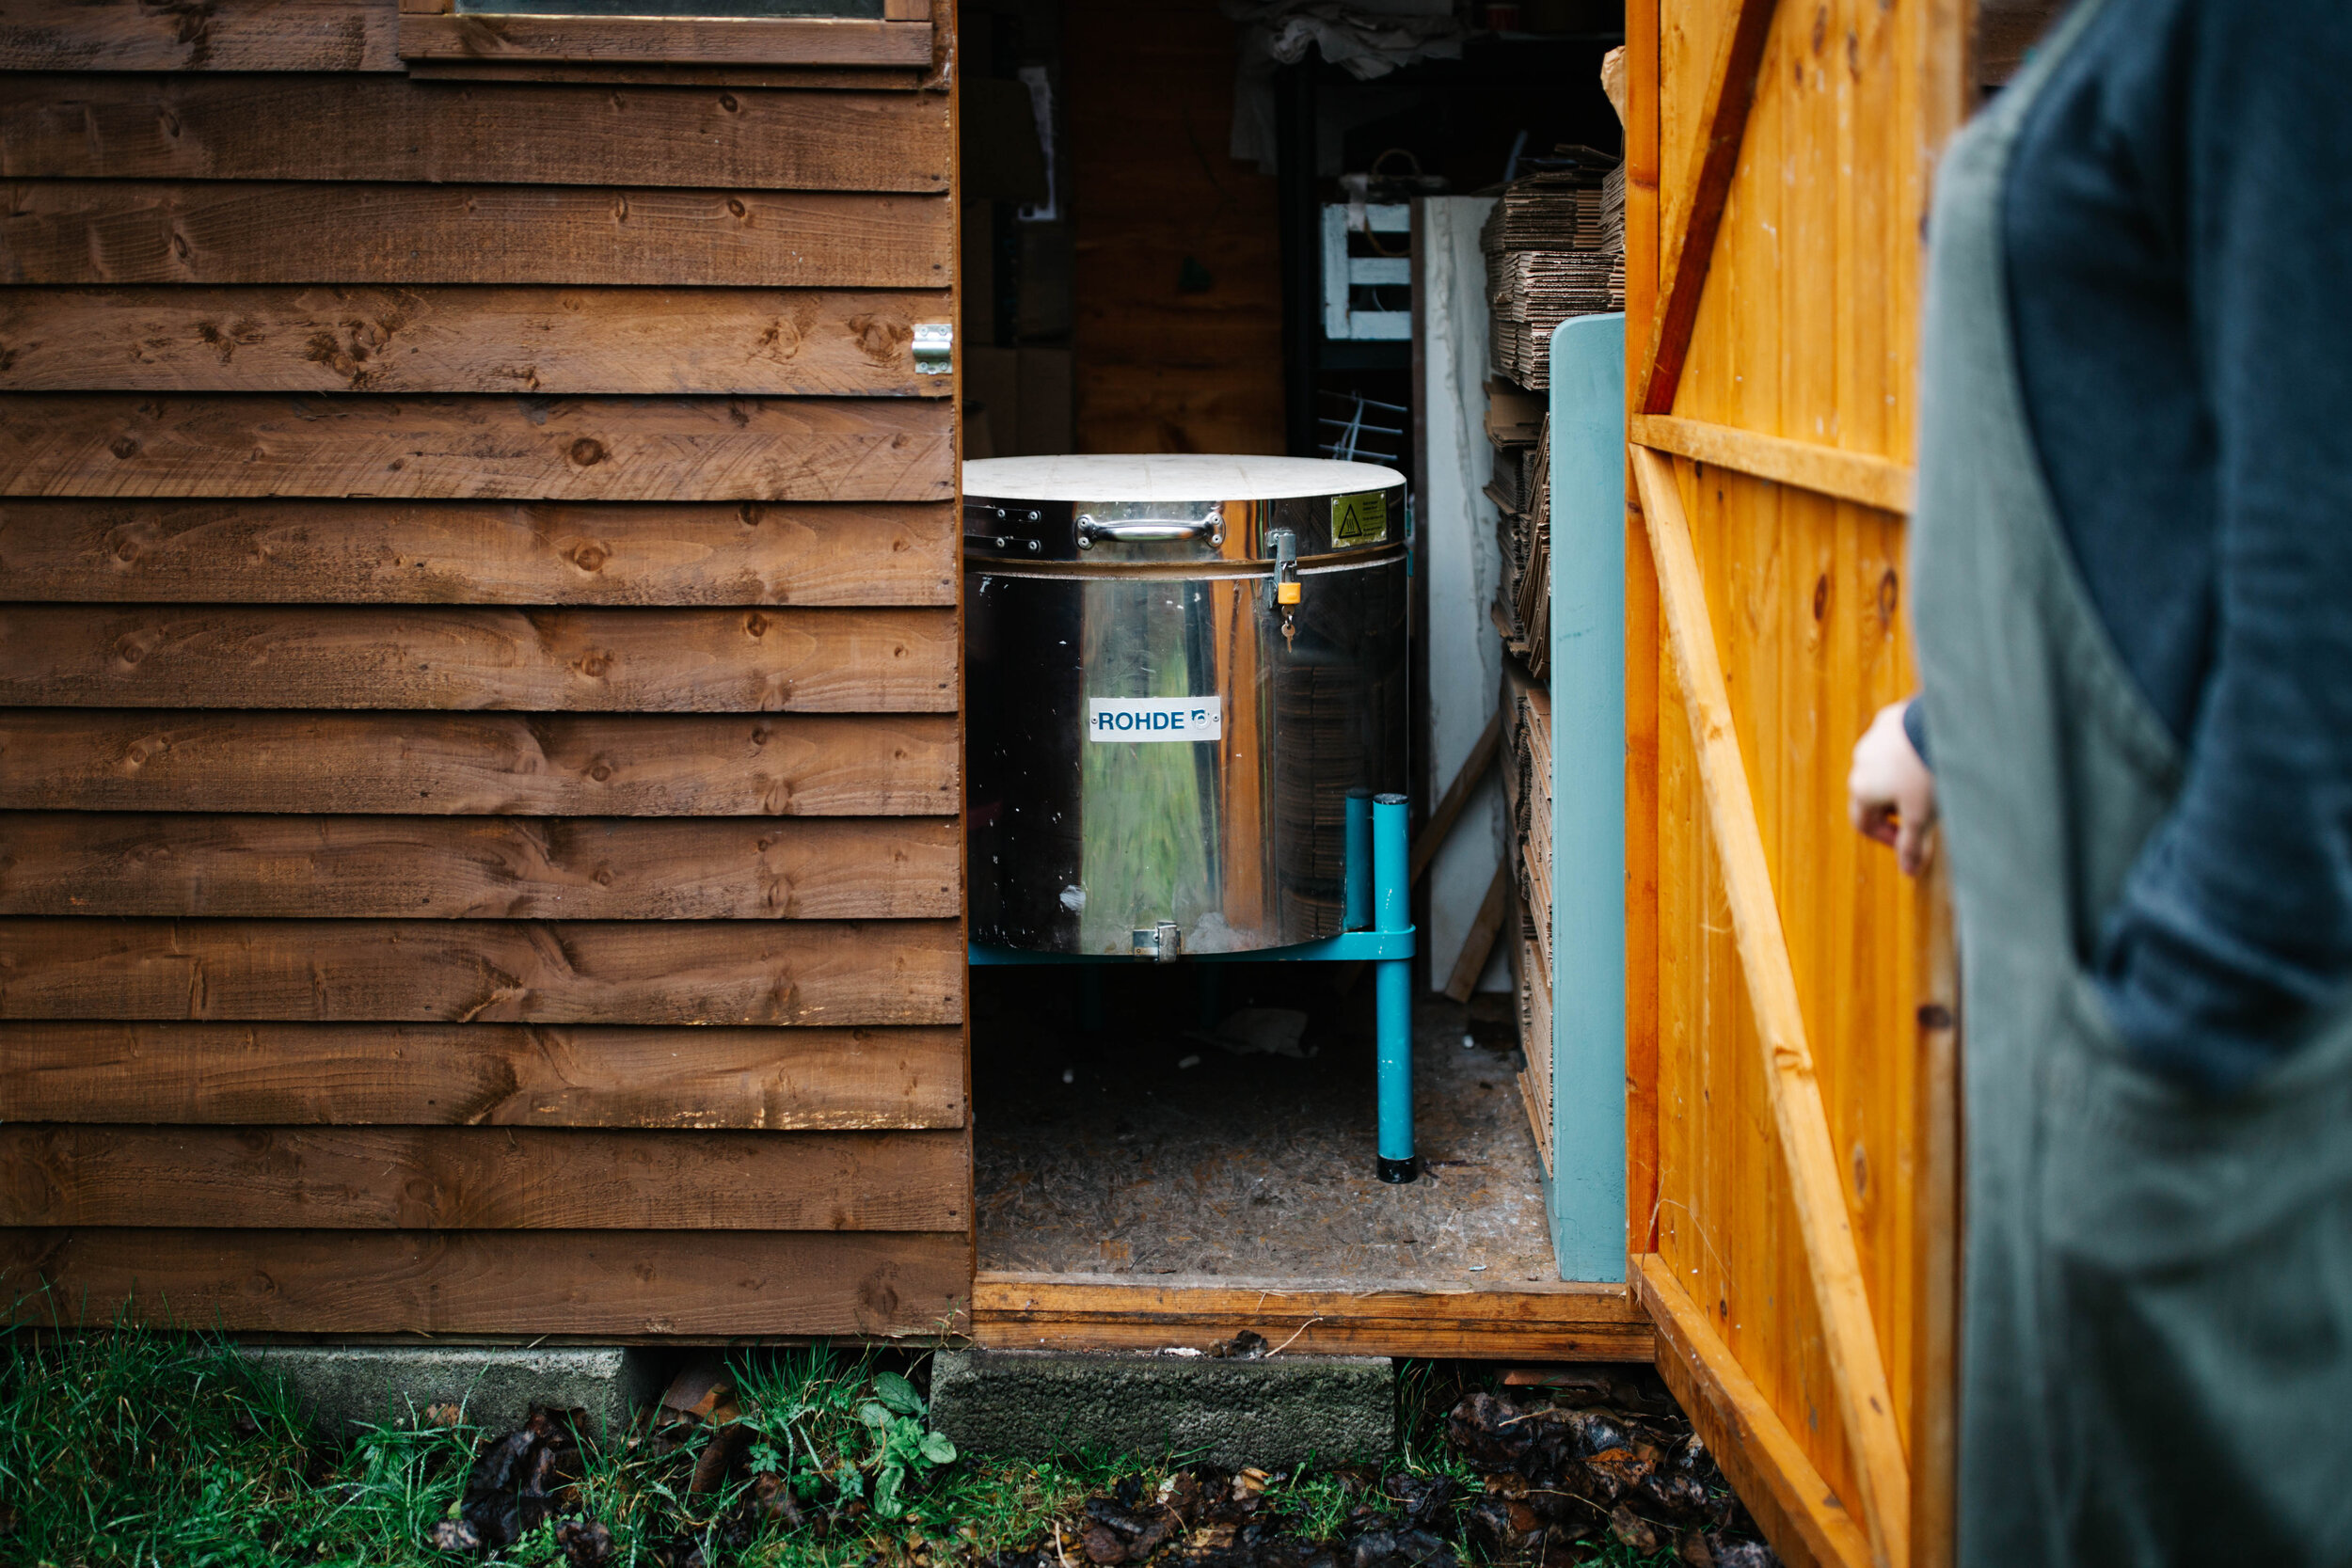
But aren’t kilns power hungry and scary? I started my business using a 45 litre plug-in kiln. It plugs into a 13amp socket - like a kettle. Its super duper insulation means it can get up to stoneware temperatures using surprisingly little electricity. The outside does get extremely hot and obviously fumes are an important consideration so you need to make sure the kiln is not situated within reach of children or animals and it must be properly ventilated. I couldn’t work in my little shed whilst my kiln was on so eventually moved it into a separate shed of it’s own.
Having a kiln in a wooden shed is fine but it needs to be at least 1 foot away from walls, floor or anything else combustable whilst firing. My little Rohde kiln is on wheels so I wheeled it into the middle of the shed when firing it then stored away once cooled. It’s important to always supervise a kiln when it is firing. Always follow the safety instructions of the manufacturers.
If you are sure that you’d like a wheel first then that’s cool, I gettcha - wheels are fun😊. I wrote a blog post about what to consider when choosing your first wheel - you can read that here. Lots of folks have asked me about table top wheels. I have little experience of using them myself but I have done a little research. I would only consider buying one of these if you are super tight on space (like live in an studio apartment in Japan) or would like your wheel to be super portable or you will mostly only be throwing small forms. Otherwise, my advice would be invest in something you are not going to out grow and need to replace in a few years. Buy quality, buy once.
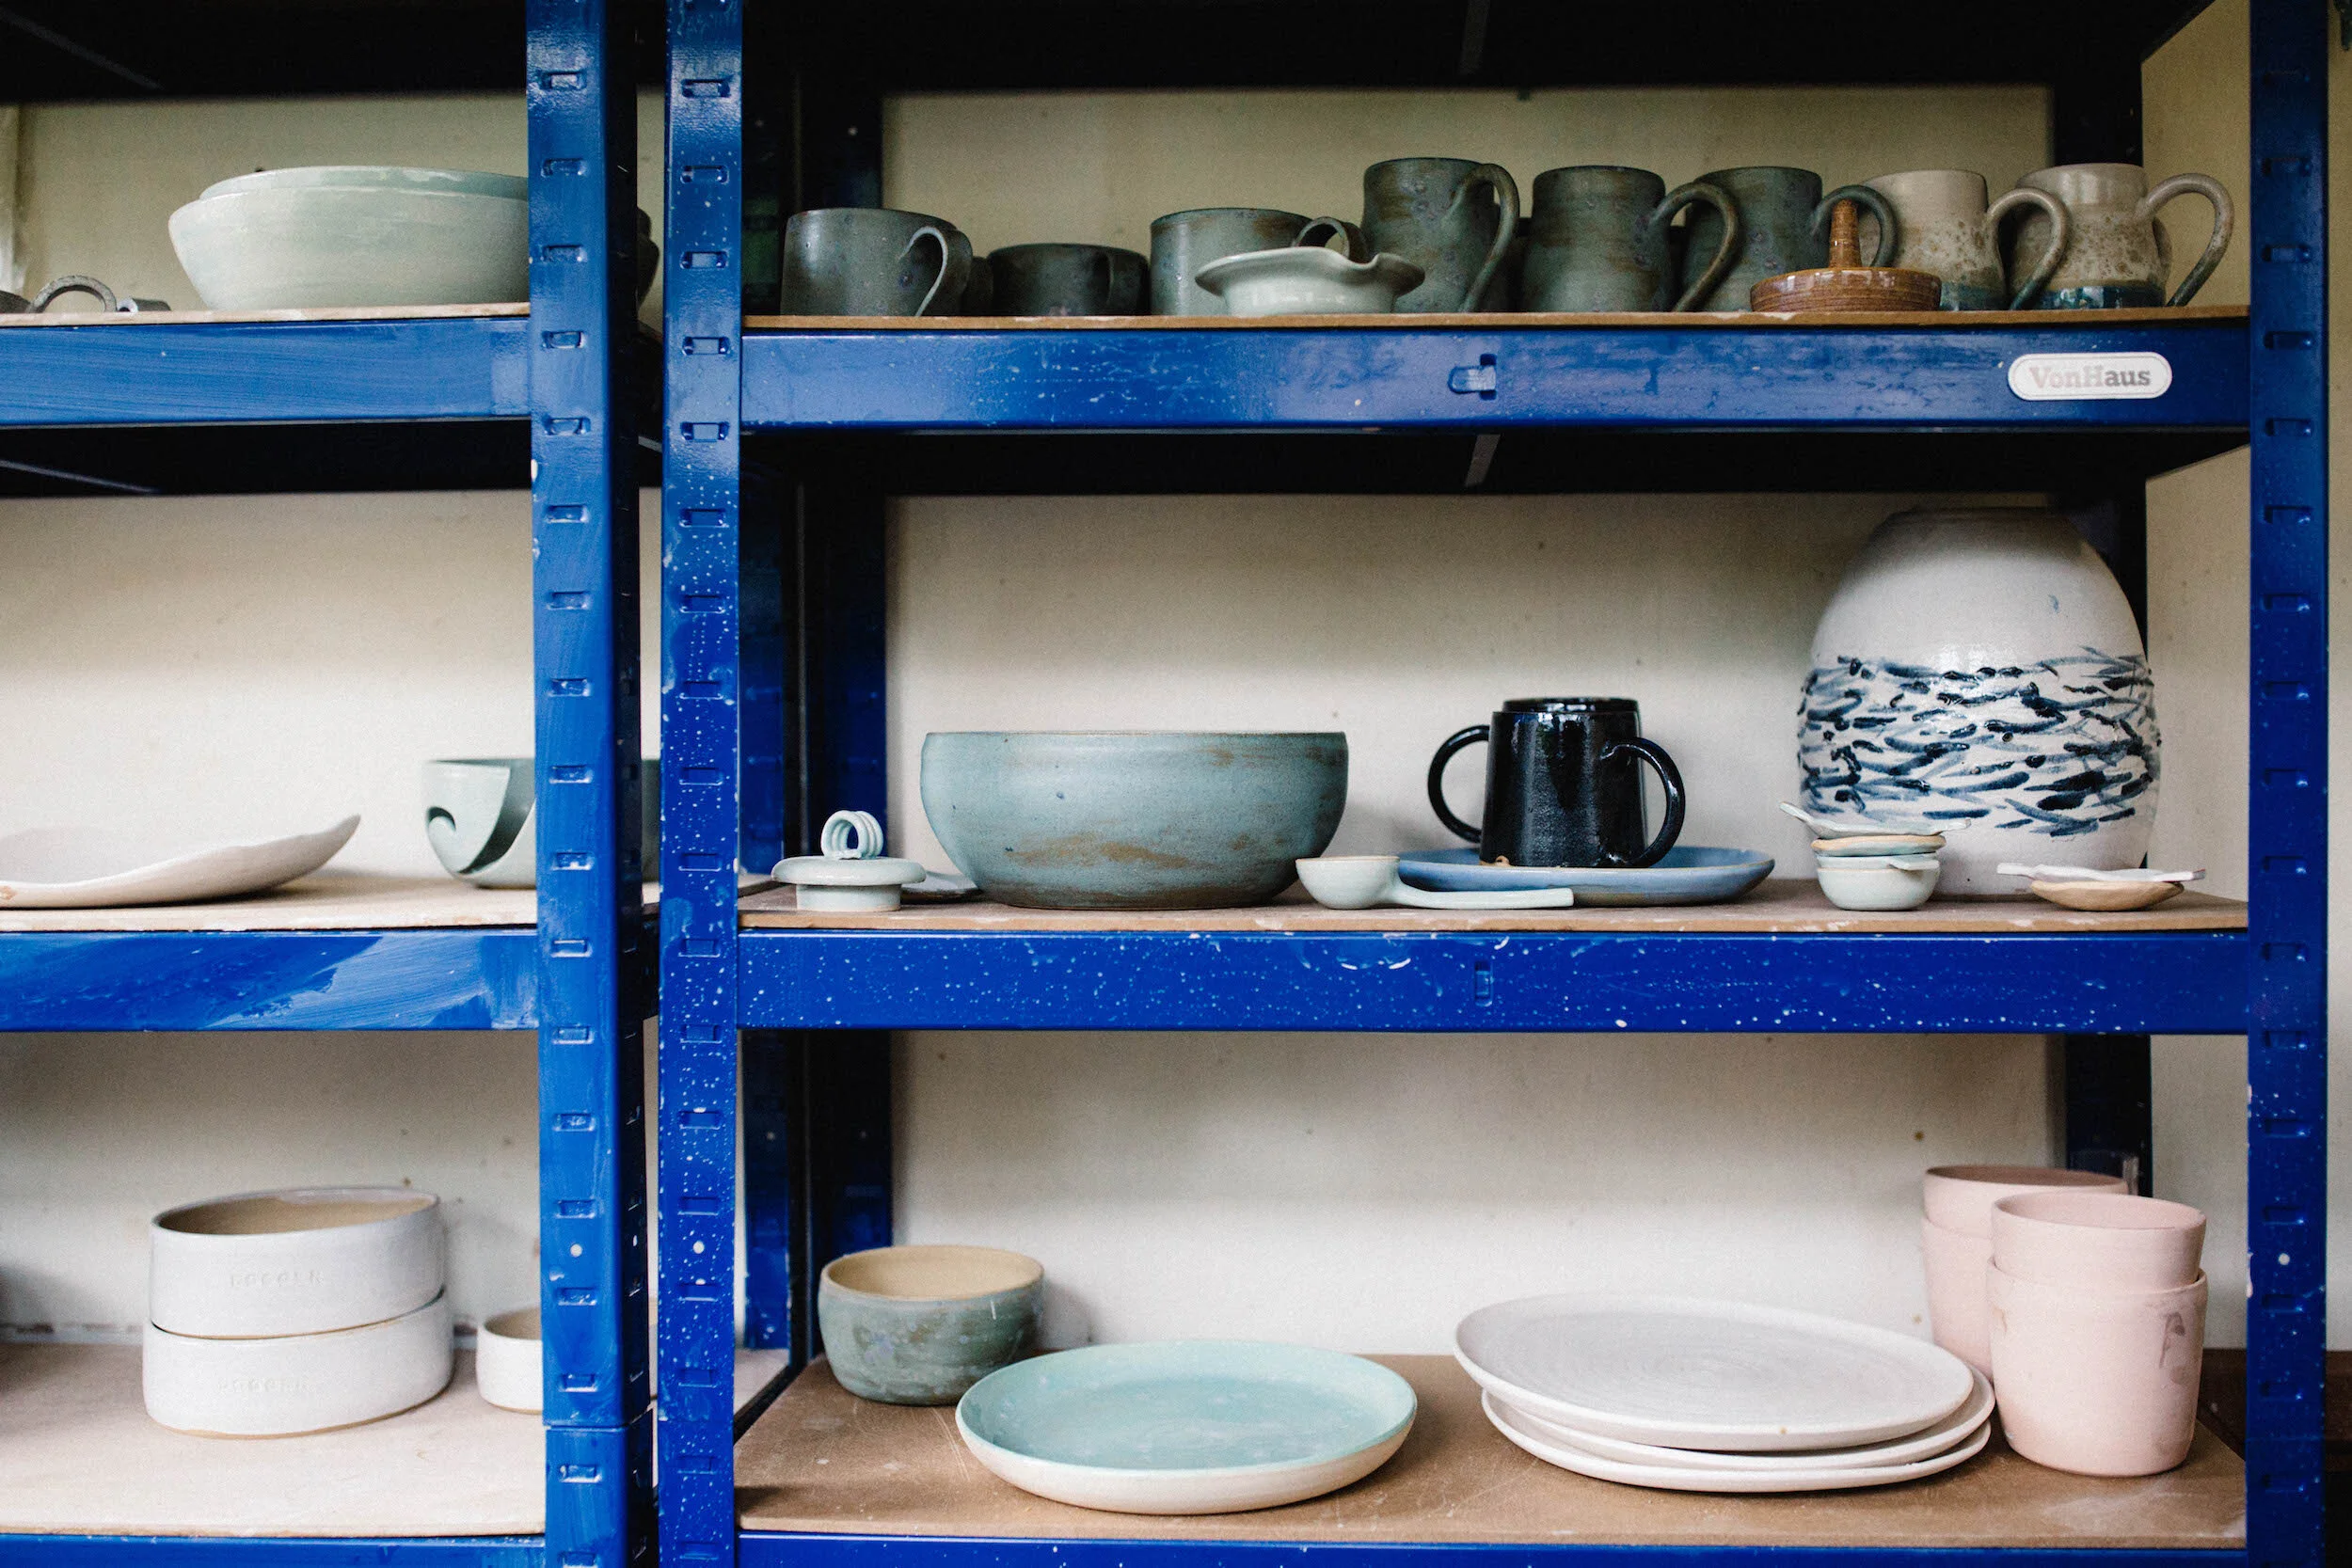
Shelving is important. As in the big cities where space is a premium, when you can’t spread-out, spread up. I use some cheap Von Haus shelving that is lightweight and easy to construct. I can move them about if I need to. The beauty of this is you can add as many layers as you like and go as high as your ceiling will allow. The bare minimum number of shelves is three; a shelf for drying greenware, a shelf for bisque, shelf for unloading the kiln.
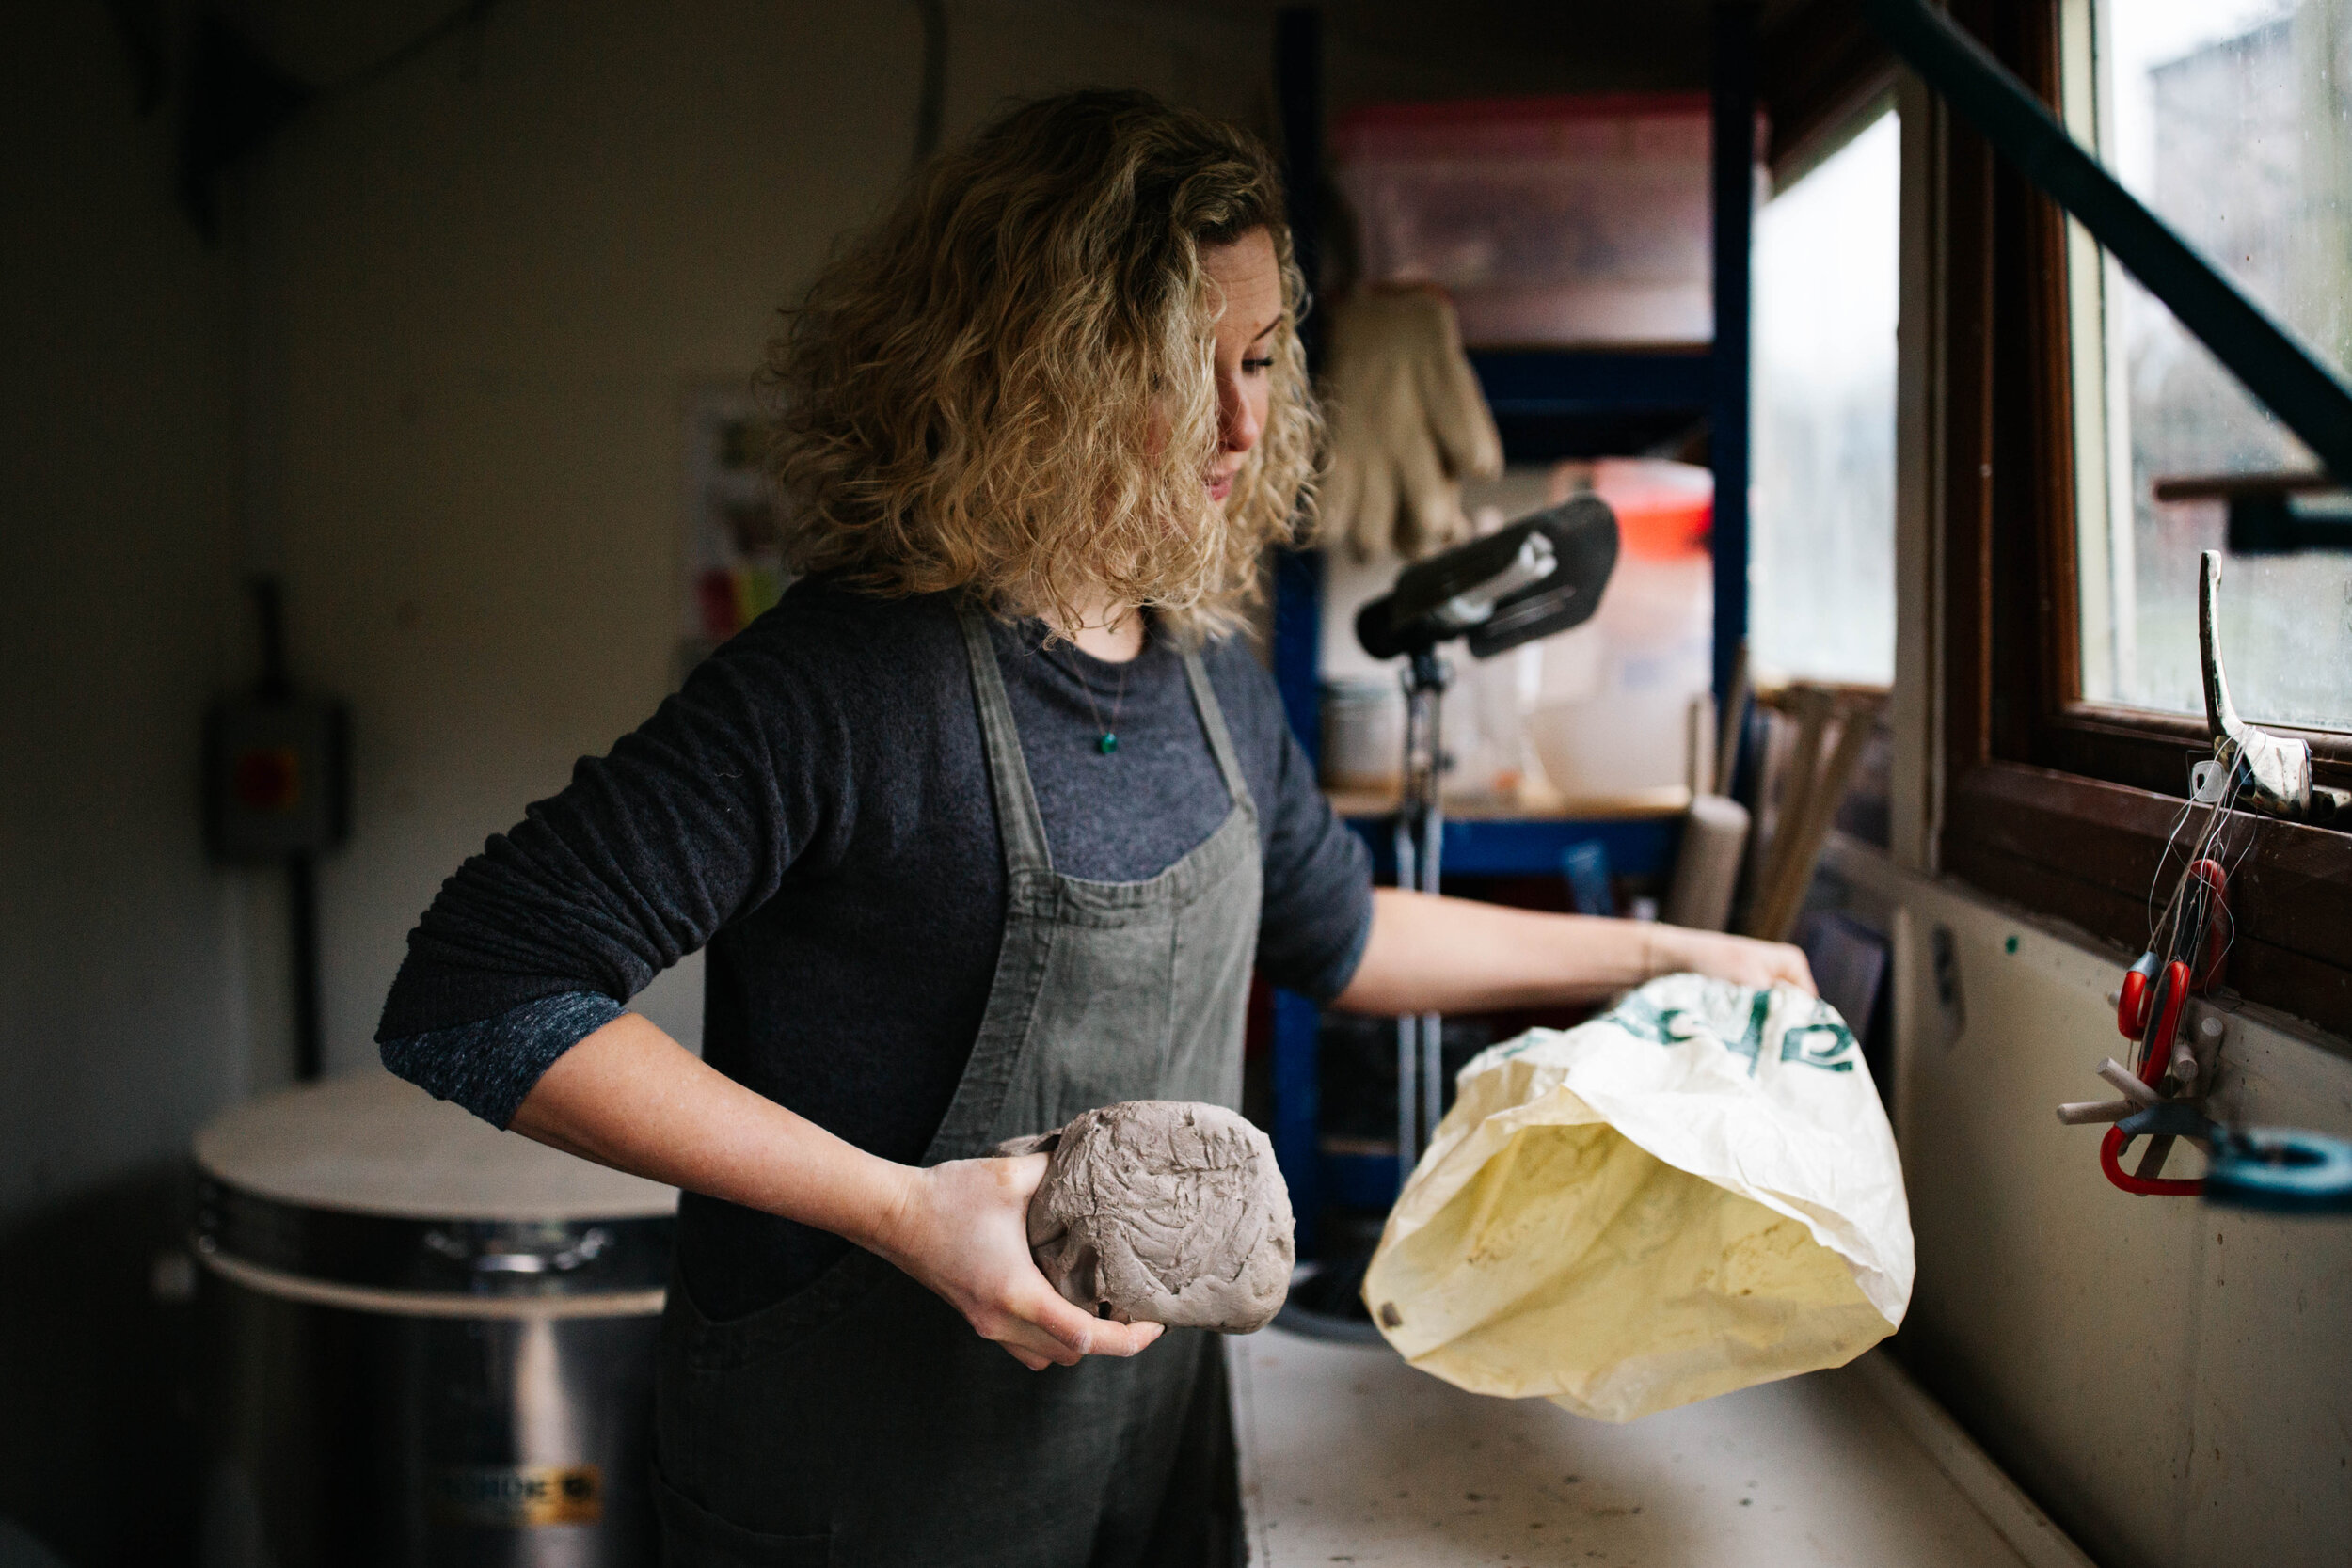
I used a small desk for making, wedging clay, glazing on etc which had a set of drawers underneath to store tools, kiln stilts. At the end of the day, I would recycle my clay onto a plaster slab on the desk which I would then store under the desk when not needed.
The Three Bucket System
Dont be tempted to wash your tools and hands in your regular household sink, the clay is sediment and WILL eventually block your drains. Without being able to install an expensive &/or space hungry sink trap - use the three bucket system. Three 1 gallon buckets, 2/3rds filled with water are ideal but they can be as small as 2 litres. Label each bucket 1, 2, 3. Bucket 1 is where you rinse most of the clay off your tools and hands. Bucket 2 is the second dunk and clean and bucket 3 is where the water should mostly come away clean. When the first bucket gets full of sediment it’s time to reclaim the clay. Then re-label bucket 2 to be bucket 1, bucket 3 becomes bucket 2 and the now clean bucket 1 becomes bucket 3. It’s best to stick to one type of clay if you can as recycling and storage is easier. You can use the same system for glazing tools, this time you can use the accumulated glaze in bucket 1 as your ‘mystery glaze’, many potters do this with surprisingly beautiful results. Get buckets with lids so you can stack them when not in use.
Good lighting is essential. As most home potter’s are working around a day job or little ones, you’re often going to be making into the evening. As well as a fluorescent strip light, I use a secondhand angle spot light that I can move around my little space and direct where I needed it.
I use underbed storage boxes in my studio, they are great to keep clay, tools and glaze pots in, for storing leather hard pots plus they are stackable and easy to clean.
Consider using brush on glazes to save room on big buckets of glazes. Alternatively you could restrict yourself to using just one bucket of glaze. Limitations such as this can mean you think more creatively and create instantly identifiable work and would be ideal for the 3 bucket system.
If you enjoy my blog, found it helpful or inspiring - take a moment to consider joining my Pottery Club. My Pottery Club is a place where I share even more insights into my pottery world - real time video pottery tutorials, lessons and learnings from my 15 Years of potting, PLUS limited edition work and seconds sales and in return you will be supporting my work - I’d love to see you there!
I hope that helps. If you have any questions please do write them in the comments below and I’ll get back to you.
Happy potting!
K x